


How to Fix a Leveling Leg for a Washer That is Shaking and Moving
When your washer is shaking or moving a lot during its washing or spinning cycles, it might be an issue with its leveling legs. These legs are important to the overall stability of your washer, especially during the spinning cycles. If they’re broken or worn down, it will cause instability for your washer and cause it to rock and move.
Normally it’s easy to identify any broken or worn-down leveling legs since your washer will move around and teeter much more than usual. You can easily check this by simply looking underneath your washer with a flashlight or by inspecting the legs’ locations for any cracks or missing legs.
This repair will likely only take some tools, some time out of your day, and hopefully not too much money. And you can rest assured that we have a straightforward guide for you just below, so that you can move seamlessly through this entire repair process!
What are Leveling Legs?
A leveling leg is either a plastic or a metal leg that extends from the bottom of your washer’s frame to stabilize the entire body of the appliance to the ground. These legs usually extend a few inches in length and normally appear on the corners of your appliance. Without these legs, your washer will rock and teeter to the sides that are not level. This is a bigger issue during the wash cycle, when your appliance is spinning rapidly and already causing a good amount of movement.
Where are the Leveling Legs Located?
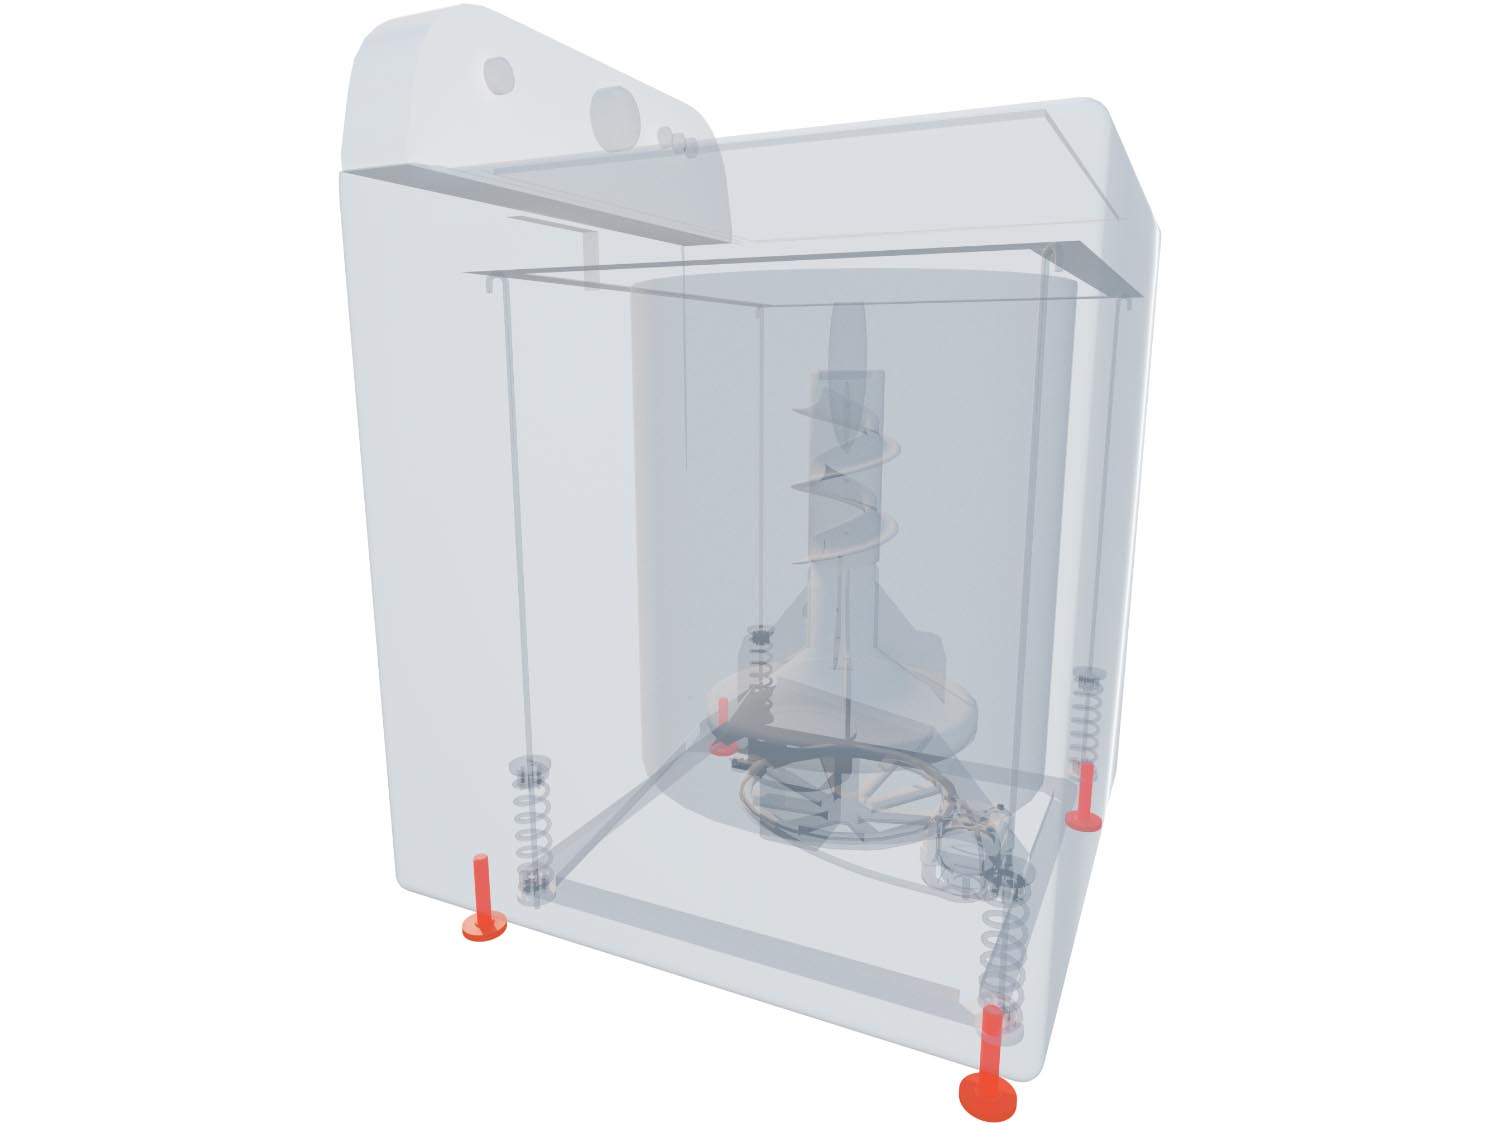
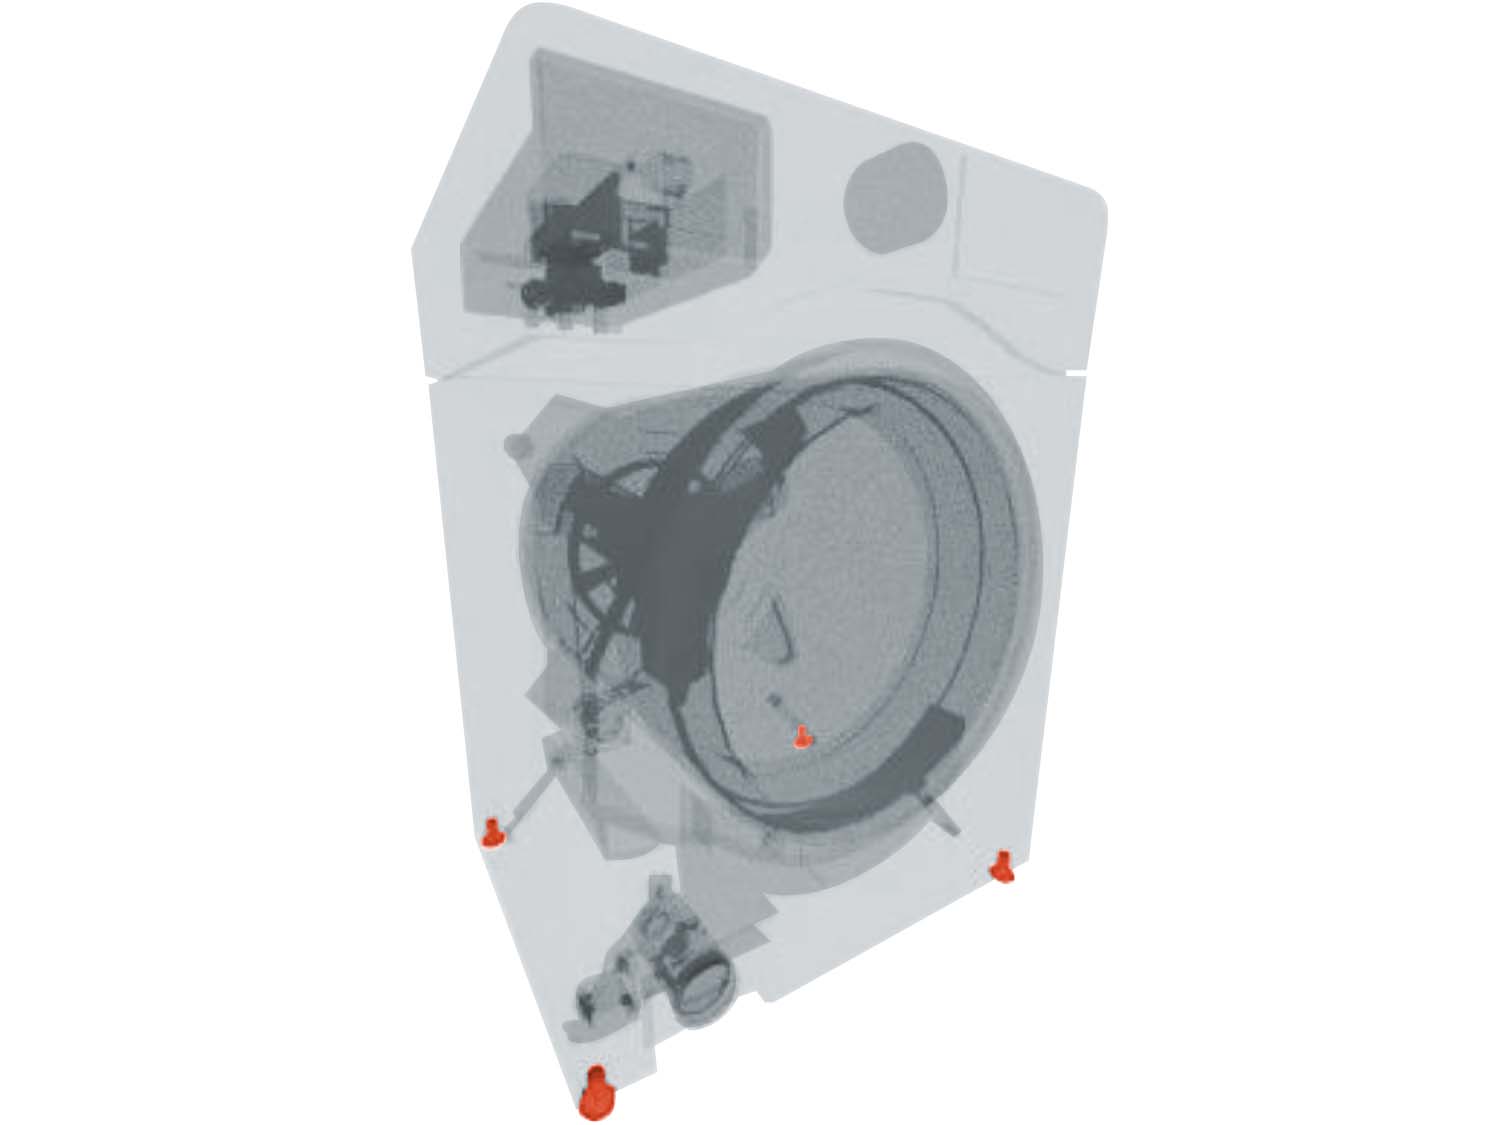
Your washer’s leveling legs are normally located at the base of your washer, usually on the four corners. Refer to the 3D diagrams below for further information.
General Location of the Leveling Legs in a Top Load Washer
General Location of the Leveling Legs in a Front Load Washer
How to Access, Remove, and Inspect the Leveling Legs
- While this repair does not involve dismantling, we recommend unplugging your appliance before beginning.
- Tilt your washing machine on its front, side, or back to have access to the feet.
- Begin by ensuring that all the feet are level. If you find that one or more is not, run a test cycle to see if the problem has been resolved. If not, inspect the feet for any signs of wear or damage, and ensure that a test cycle to see if the problem has been resolved. If not, inspect the feet for any signs of wear or damage, and ensure that they are threaded properly.
- If you find any of the issues above, you will need replacement leveling legs.

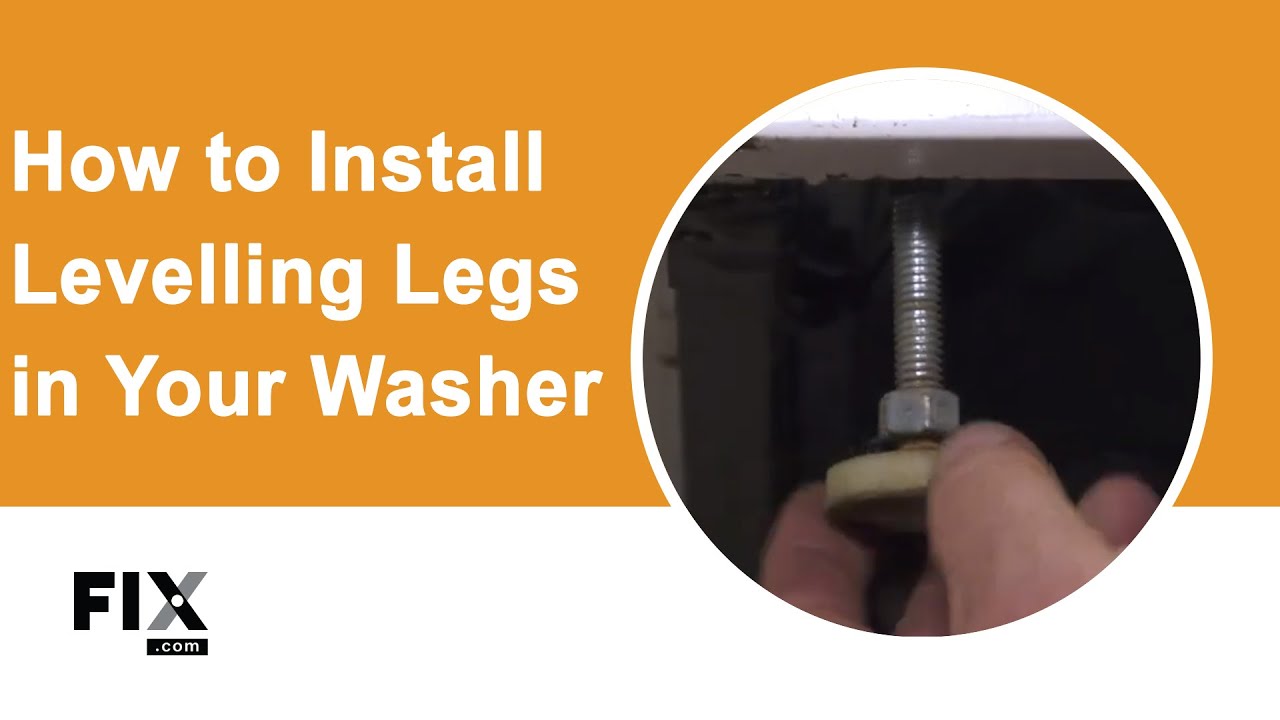
How to Install New Leveling Legs
If your washer is uneven, or is shaking or moving during operation, you may need to replace the leveling leg. Often, the leveling leg can simply be adjusted (see the above video and instructions), but sometimes it does need to be removed and replaced. Either way, this video will show you how to access the leveling leg, and how to remove it if necessary.
- Depending on your washer model you may need pliers or a wrench to twist the leveling legs in and out of the washer base.
- To install a leveling leg, make sure you add a locking nut onto it first. Thread the locking nut almost all the way to the bottom of the leveling leg. Now it's ready to be inserted onto the washer.
- Safely tilt the washer up if it wasn't already from the removal of the old leveling legs, so that the bottom can be accessed and the legs installed.
- Thread the new leveling leg up into the machine, bringing it into position.
- Set the machine back onto the floor, and test for level from left to right and front to back, and also jiggle the washer from side to side to ensure that it not only measures level, but that the legs are level with the ground. This last indicator of level is ultimately more important than whether the washer simply measures as level, as any unevenness that causes the washer to rock at all, will later cause it to move around during the cycle.
- If you measure any indications of the washer not being level, tilt it back up and re-adjust the relevant legs until the washer measures level and does not budge when jiggled.
Next: Troubleshooting the Tub Dampening Strap
Go To Main Page: Shaking and Moving