


How to Fix the Timer for a Dryer That Will Not Start
When your dryer won’t start or isn't turning on, it could be signaling there is an issue with your dryer’s timer. Whether your dryer is a gas or electric model, the timer is responsible for part of the core functions of your dryer, like controlling the overall length of a cycle or when to start and stop a cycle. If it’s not working correctly or if there’s another issue with the timer assembly itself, it can cause other components in your dryer not to function properly or to work for excessive amounts of time, meaning they will eventually get worn-down faster, like the motor, heating element, and belt. The guide below has videos and 3D diagrams to help you diagnosing your dryer’s timer so you can figure out if it’s responsible for your dryer’s issues, and can also to assist you with replacing it if it is the culprit, so that you can get back to having dry clothes as soon as possible!
What is a Timer?
The timer is one of the key controlling components within your dryer that controls specific functions during the load cycle.
Where is the Timer Located?
The timer’s location can vary from model to model, but it is typically in the front or back of the dryer, or at the top of the console, right where the user interface is. For further assistance locating yours, refer to the 3D diagram below.

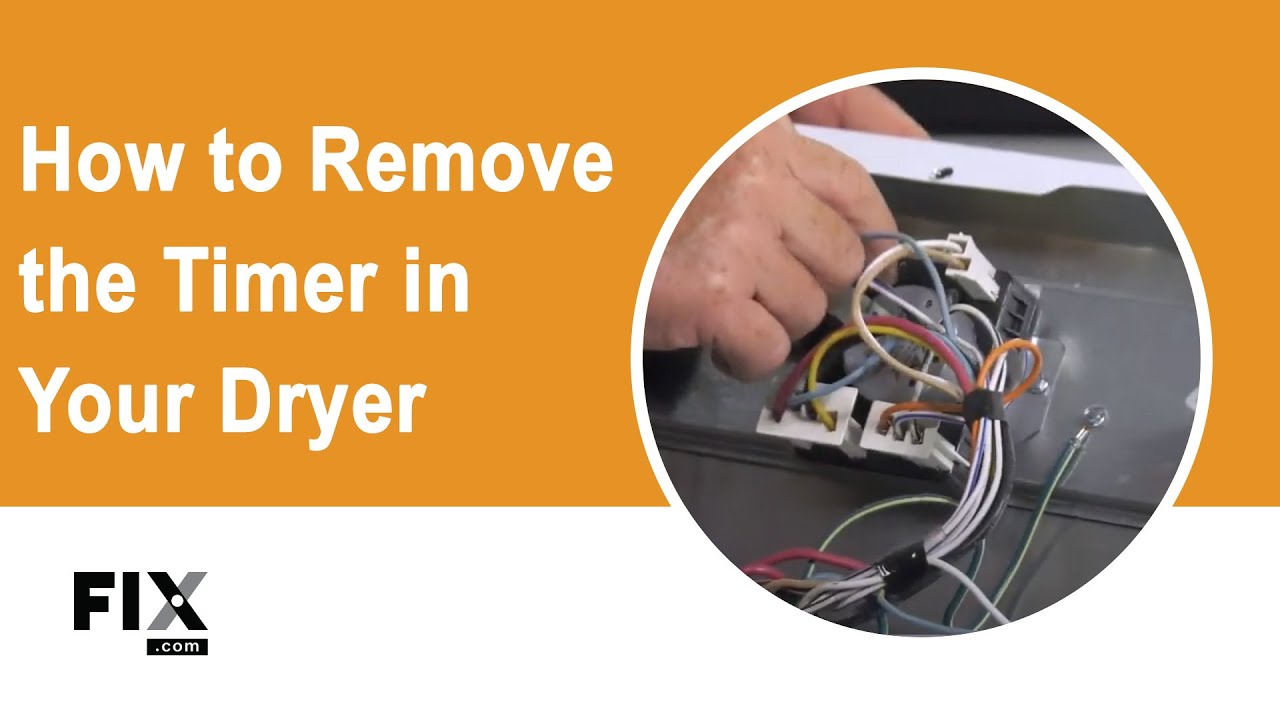
How to Access, Remove, and Inspect the Timer in a Dryer
- Depending on the model of dryer, you may need to first remove the lint screen from within your dryer to be able to access the interior of your dryer.
- Locate your control panel and then remove any screws or fastenings holding it on to the front or back of your machine so that you can gain access to the rear of the panel.
- A useful tip is to use a camera or smartphone to take photos of any cables or connected wires within the dryer for future reference; these will be especially useful when reinstalling the panel and reconnecting anything you have disconnected.
- Upon gaining access to the control panel, locate your timer by cross-referencing the location with the front of the panel.
- Remove, disconnect, and unscrew any cables or screws attached to the timer at the back of the panel and then you should be able to safely remove the timer. This may also require you to detach a knob connected through the front of the panel, so be sure to disconnect that, if present, before removing the timer device.
How to Test a Timer
The easiest way to figure out if a dryer timer is bad is to remove it from the machine and test its contacts for continuity using a multimeter. We recommend using a wiring diagram to identify the correct terminals to test. The steps below describe how to do the tests.
- Set your multimeter to continuity mode.
- Connect the two probes to the two terminals on the timer.
- If the multimeter does not detect continuity, your timer is most likely defective. If your timer has continuity but is still not working, we recommend testing another common failing part on our list.

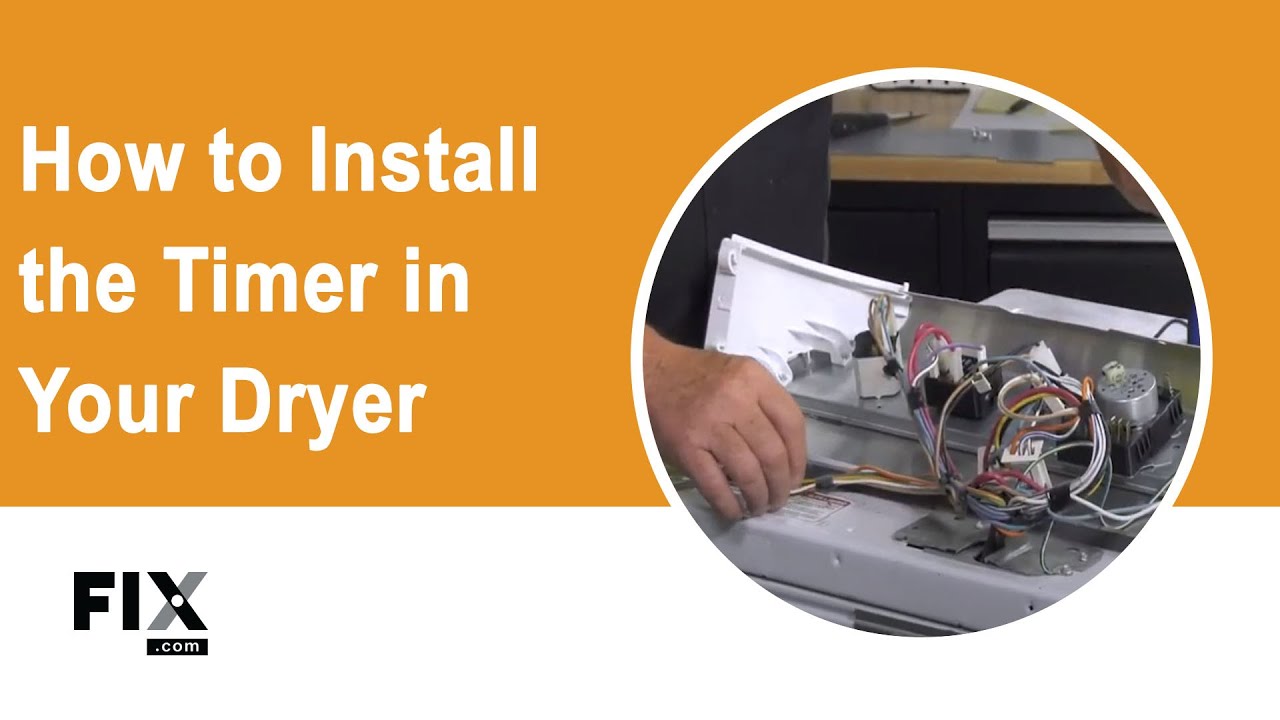
How to Install a New Timer
- Connect the previously disconnected wires to the new timer, referring to the photos taken earlier to ensure everything is reconnected correctly.
- Reconnect any applicable knobs to the front of the machine.
- Fasten any previously disconnected screws to reassemble the machine and control panel.
Next: Troubleshooting the Electronic Control Board
Go To Main Page: Will Not Start