


How to Fix a Cycling Thermostat for a Dryer That Is Too Hot
The cycling thermostat is a temperature control device that regulates the temperature inside the drum by passing electricity to the heating element as needed. If it is malfunctioning, the heating element may be turned on for longer than needed, causing it to overproduce heat. If you suspect that the cycling thermostat is broken, you would need to test it with a digital multimeter.
What is the Cycling Thermostat?
The cycling thermostat is a small, oval-shaped device that monitors and controls your dryer’s internal temperature during its cycle.
Electricity passes through it and flows to the heating element, generating heat as the heating element is powered. When the internal temperature reaches a certain point, the cycling thermostat cuts the electrical flow and allows the heating element to cool down. Once the internal temperature drops, the thermostat closes the circuit and lets electricity pass through it again.
If your dryer is overheating, your cycling thermostat may be malfunctioning and allowing your dryer to produce excessive heat.
Where is the Cycling Thermostat Located?
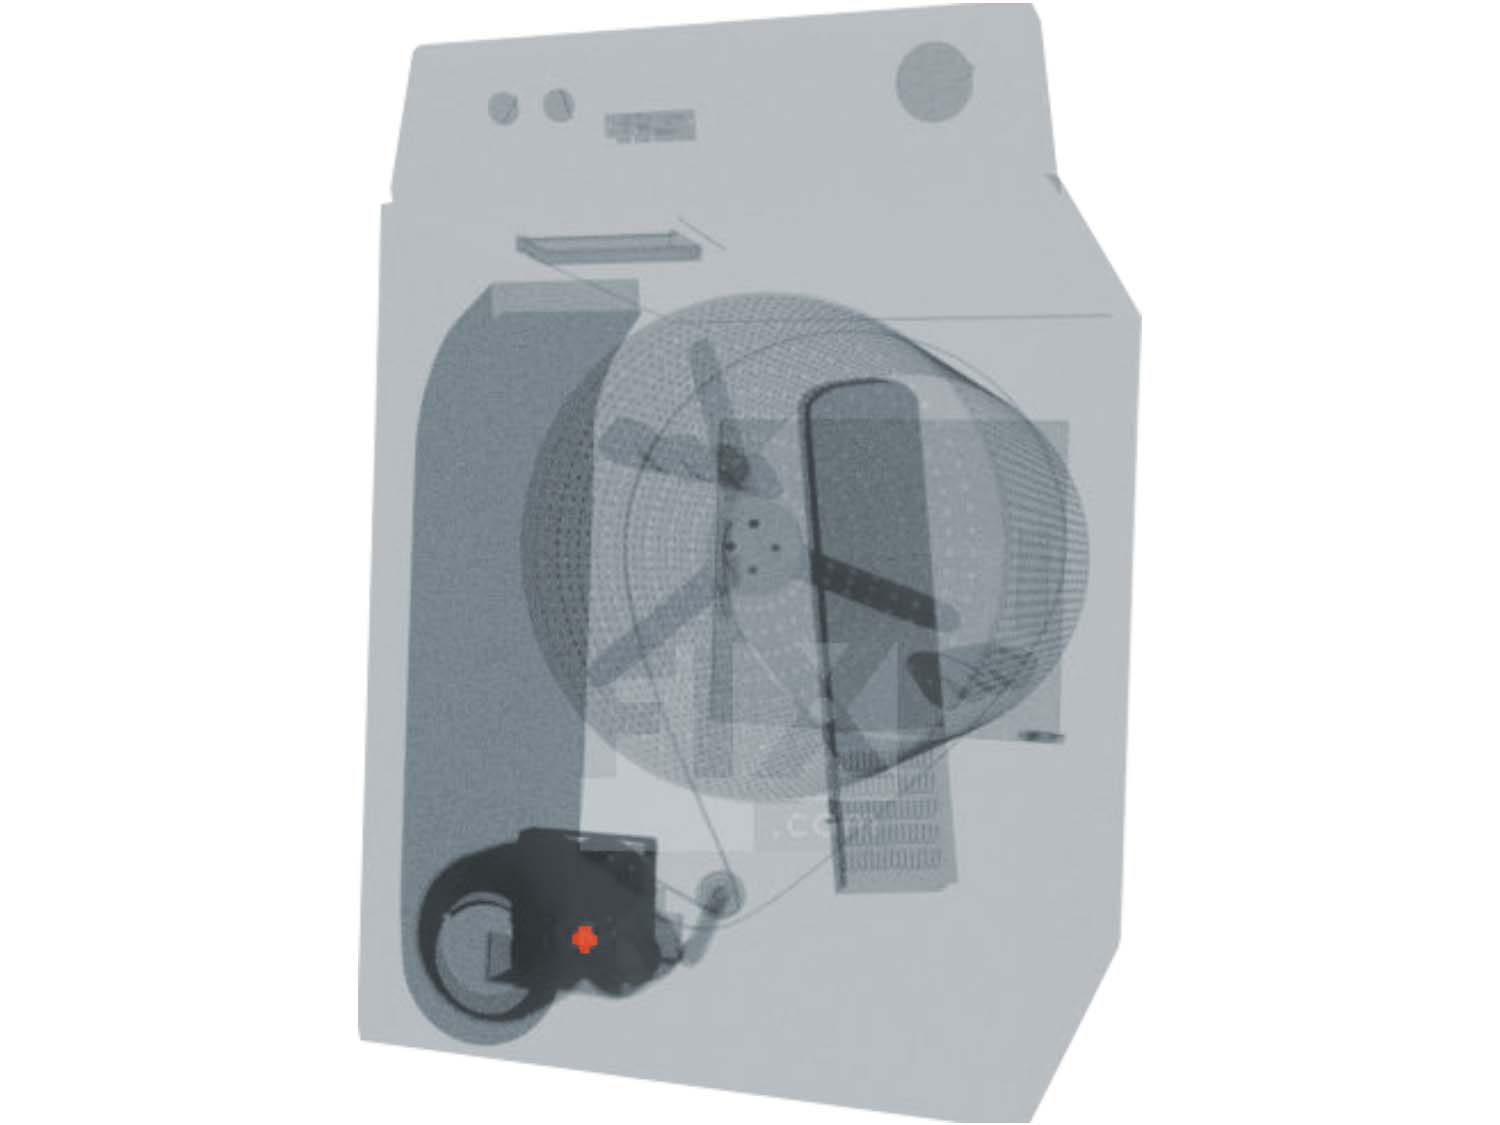
The cycling thermostat is typically located inside the dryer’s back panel, most likely attached to a housing. This varies from dryer to dryer. Be sure to consult your user’s manual before proceeding.
General Location of the Cycling Thermostat
How to Access, Remove, and Inspect the Cycling Thermostat
- As with all repairs, begin by unplugging your dryer. If you have a gas dryer, shut off the gas supply and disconnect the gas lines.
- Remove the duct from the dryer’s exhaust outlet. If it is secured by a gasket or a band clamp, you need to loosen it with a screwdriver.
- Remove the back panel.
- Disconnect the wires running to the thermostat using a needle-nose pliers.
- Remove the thermostat by unthreading any mounting screws securing it.
- Slide the thermostat out of its slot and inspect it for charring or damage.
How to Test the Cycling Thermostat
- Set your multimeter to read in ohms (some devices call this mode ‘RX1’ or ‘X1’). If your multimeter has a setting that tests for continuity by making an audible sound, you may set it to that as well.
- Touch the probes onto the wire terminals and check the reading – a good thermostat will read ‘0’ at room temperature. Alternatively, listen for a sound.
- Replace your thermostat if it reads otherwise or does not make a sound.

How to Install a New Cycling Thermostat
- Insert the replacement thermostat by sliding it into the slot.
- Secure the thermostat by replacing its mounting brackets.
- Reconnect the wires to the thermostat’s respective terminals.
- Reattach the back panel.
- Reattach the exhaust vent.
Next: Troubleshooting the High-Limit Thermostat
Go To Main Page: Too Hot