


How to Repair a Dryer with a Bad Timer
The timer is responsible for controlling the duration of the drying cycle, so if it is not functioning properly, it can prevent clothes from drying fully or cause the dryer to run for too long or not run for long enough. Common timer issues include worn motor gears, which prevent the timer from advancing; faulty electrical contacts, which can cause a variety of timer-related problems; and physical damage, which makes it difficult to control the timer itself.
You will need to inspect the timer to ensure that it is in good condition and to test it with a multimeter to check whether there are any electrical issues. This guide will give you simple instructions on how to find your timer and diagnose the problem.
What is a Timer?
The timer is a device that allows you to select the desired length of time for each cycle; it also allows the dryer to advance from one setting to the next after a particular period of time. The dryer timer contains a small motor that is responsible for turning the electric contacts on and off inside the timer. It controls the heat circuit and the dryer motor as well. If the timer is physically damaged or the motor and the electrical contacts are malfunctioning, you may not be able to control the timer’s functions and the dryer itself may stop abruptly or not start at all.
Where is the Timer Located?
You can usually find the timer located inside the console on your dryer, directly behind the knob or display that you use to set the drying cycle.
General Location of the Timer in a Dryer

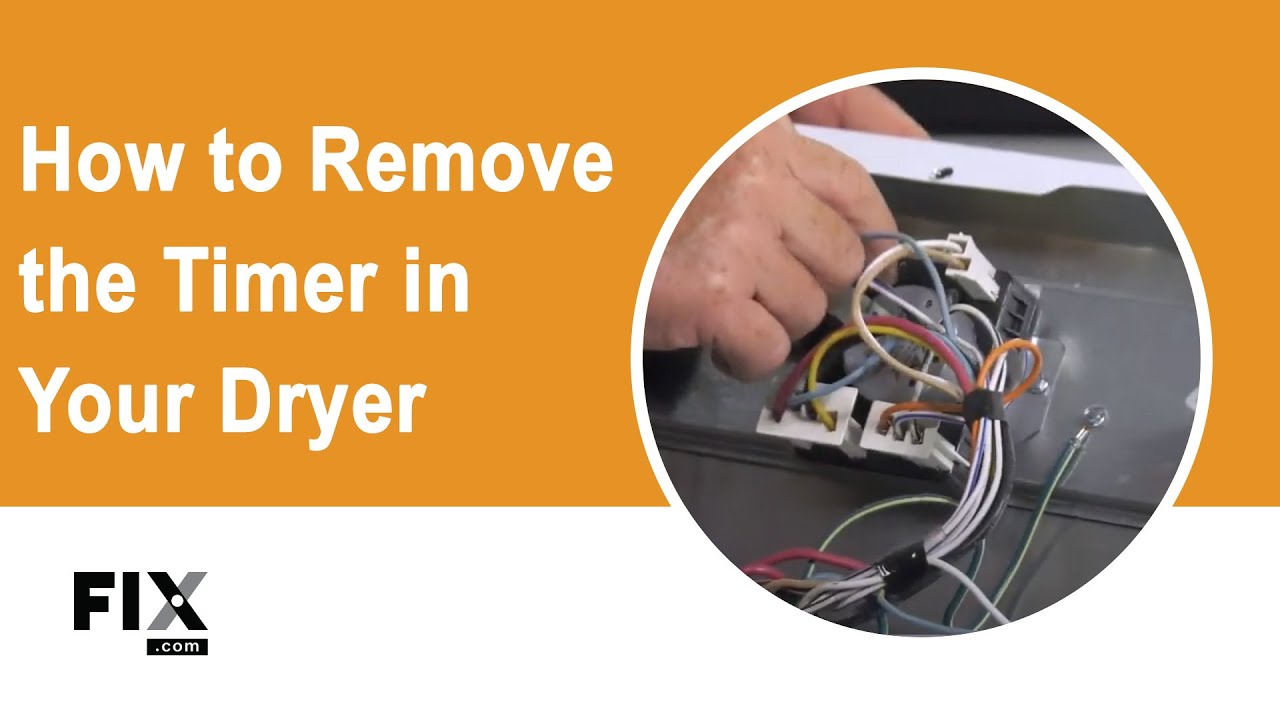
How To Access, Remove, and Inspect the Timer in a Dryer
- Begin by unplugging your dryer or shutting off the gas if it is a gas dryer.
- Access the underside of the console to reach the timer. On some models, you may have to remove the back panel to access it.
- Once you have located the timer, disconnect the wire connectors to the timer.
- Inspect the timer for any damage. If there is none, you will need to test the timer for electrical failure.
- If there is damage to the timer, you will need to detach it from the console and install a new timer to fix your dryer.
How to Test a Timer
Before you begin, you will need the wiring diagram for your dryer model so that you know which terminals on your timer to test and how to interpret the readings.
- Locate the timer motor, which is usually a small, cylindrical motor with wires connected to it.
- Remove the wires from the timer motor using needle-nose pliers, if necessary. Note the colors and locations of the wires for reinstallation.
- Set your multimeter to the "ohms" setting.
- Touch the probes of the multimeter to the two terminals on the timer motor.
- Check the reading on the multimeter. If the reading is outside of the specified range in your wiring diagram, then the timer motor is faulty and needs to be replaced.
- If the timer motor is functioning correctly, reattach the wires to the timer motor and investigate a different part of your dryer.

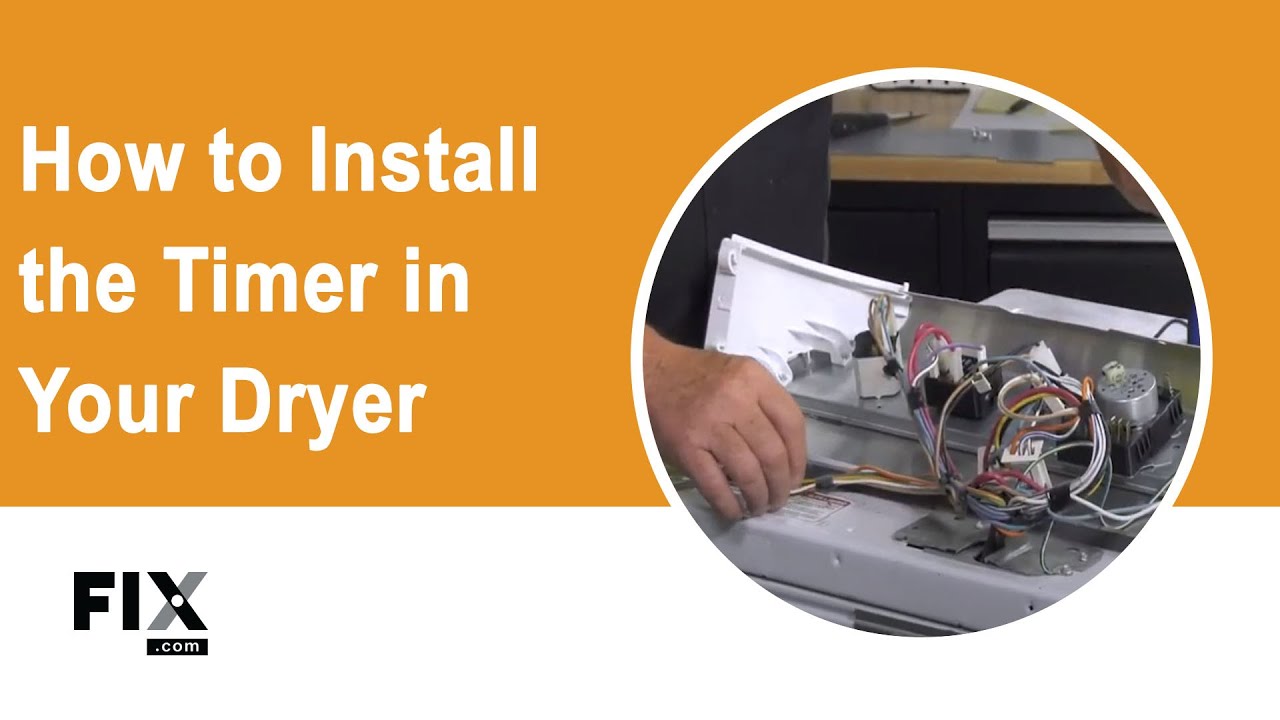
How to Install a New Timer
- Check “How to Access, Remove, and Inspect the Timer in a Dryer”, for instructions on how to remove the timer.
- With the wire connectors already disconnected, remove any mounting screws or clips that are holding the timer in place.
- Pull out the timer and discard it.
- Place your new timer inside the console.
- Reconnect the wire connectors to the new timer and make sure they are in the correct position.
- Reinstall the mounting screws or clips that secure the timer in place.
- Fit your console back onto the machine.
- You can now plug in your machine and your repair is done.
Next: Troubleshooting the Electronic Control Board
Go To Main Page: Timer Not Working