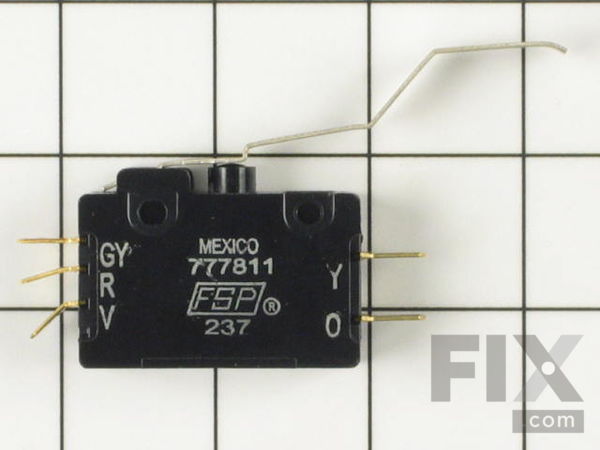
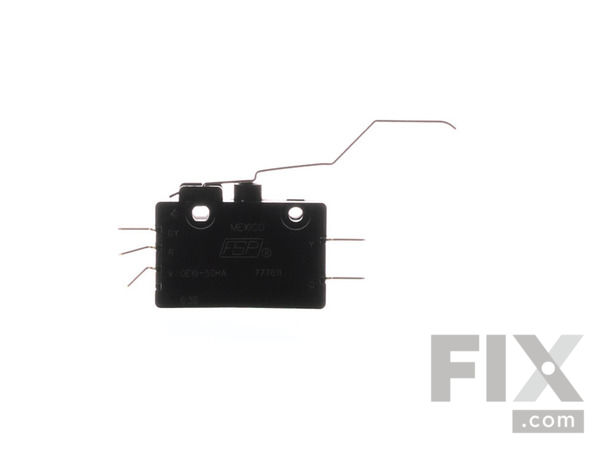
Trash Compactor Directional Switch WP777811
- Fix Number:
- FIX11744742
- Manufacturer #:
- WP777811
- Manufactured by:
- Whirlpool
Jump to:
Product Description
This is an OEM part sourced directly from the manufacturer. This is a top limit and directional switch that is designed for use with trash compactors. This switch will interrupt the current that flows to the motor when the ram reaches the top of the compactor. When the ram reaches the top of the compactor this switch reverses the motor direction. You may have a problem with your switch if you compactor won?t stop running at the end of the cycle. Before you replace this part make sure you have unplugged your trash compactor.
-
Works with the following brands:Whirlpool, KitchenAid, Kenmore, Jenn-Air
-
Works with the following products:Trash Compactor
-
Fixes the following symptoms:Doesn’t stop at end of compacting cycle, Noisy, Compactor ram gets stuck, Won’t start
-
Part# WP777811 replaces these:AP6011545, 14210601, 242682, 41001106, 4163405, 7-49064 ... Show more , 7-77811, 749064, 777811, Y777811 Show less
- Works with the following brands:
- Whirlpool, KitchenAid, Kenmore, Jenn-Air
- Works with the following products
- Trash Compactor
- Fixes the following symptoms
- Doesn’t stop at end of compacting cycle, Noisy, Compactor ram gets stuck, Won’t start
- Part# WP777811 replaces these:
- AP6011545, 14210601, 242682, 41001106, 4163405, 7-49064, 7-77811, 749064, 777811, Y777811
Questions and Answers
Be the first to ask our experts a question about this part!
Related Parts Additional or alternate parts to consider.
Installation Instructions Provided by Fix customers like you.
- < Prev
- 1
- Next >
- Customer:
- Willard from EASTMAN, GA
- Parts Used:
- WP777811
- Difficulty Level:
- Really Easy
- Total Repair Time:
- 15 - 30 mins
- Tools:
- Socket set
- Customer:
- Jerry from Pleasanton, CA
- Parts Used:
- WP777811
- Difficulty Level:
- A Bit Difficult
- Total Repair Time:
- 1- 2 hours
- Tools:
- Nutdriver, Screw drivers
- < Prev
- 1
- Next >
Model Compatibility
Manufacturer Part Number: WP777811
| Brand | Model Number | Description |
|---|---|---|
| Kenmore | 19025 | Trash Compactor - Kenmore Trash Compactor Model 19025 (1988) (19025(1988)) Parts |
| KitchenAid | 4KUCC150S0 | Trash Compactor |
| KitchenAid | 4KUCC150S1 | Trash Compactor |
| KitchenAid | 4KUCC150S2 | Trash Compactor |
| KitchenAid | 4KUCC151T0 | Trash Compactor |
| KitchenAid | 4KUCC151T1 | Trash Compactor |
| KitchenAid | 4KUCC151T4 | Trash Compactor |
| Kenmore | 6221338550 | Trash Compactor |
| Kenmore | 6221358550 | Trash Compactor |
| Kenmore | 6221388550 | Trash Compactor |
| Kenmore | 6228369301NZ | Trash Compactor |
| Kenmore | 6228415001NO | Trash Compactor |
| Kenmore | 6228416001GO | Trash Compactor |
| Kenmore | 62284169900 | Trash Compactor |
| Kenmore | 6228419001GO | Trash Compactor |
| Kenmore | 62284199910 | Trash Compactor |
| Kenmore | 62284199920 | Trash Compactor |
| Kenmore | 6651330590 | Trash Compactor |
| Kenmore | 6651336580 | Trash Compactor |
| Kenmore | 6651336581 | Trash Compactor |
| Kenmore | 6651336582 | Trash Compactor |
| Kenmore | 6651338550 | Trash Compactor |
| Kenmore | 6651338580 | Trash Compactor |
| Kenmore | 6651338581 | Trash Compactor |
| Kenmore | 6651338582 | Trash Compactor |
| Kenmore | 6651339580 | Trash Compactor |
| Kenmore | 6651339581 | Trash Compactor |
| Kenmore | 6651340590 | Trash Compactor |
| Kenmore | 6651340592 | Trash Compactor |
| Kenmore | 6651340593 | Trash Compactor |
Some of the parts we sell are eligible for mail-in rebates since we can recycle them. We will display any applicable rebates in your shopping cart. To redeem your rebate, contact Customer Service after you have received your part.


