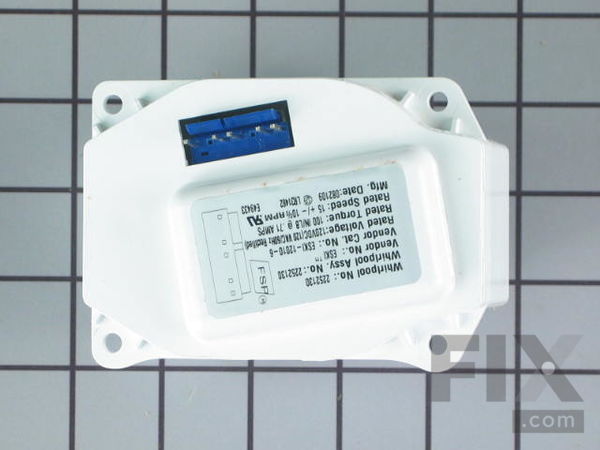
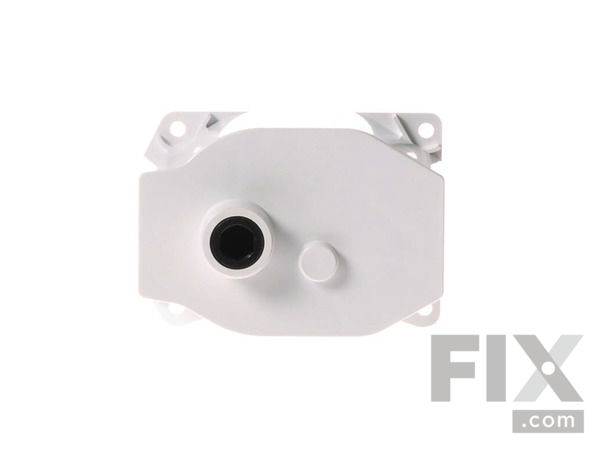
Refrigerator Ice Auger Drive Motor WP2252130
Works With Model 10644024600!
$156.43
In Stock
- Fix Number:
- FIX11739848
- Manufacturer #:
- WP2252130
- Manufactured by:
- Whirlpool
Works With Model 10644024600!
Jump to:
Product Description
This motor rotates the auger. When the auger rotates, it pushes ice out of the bin, through a chute to the user.
-
Works with the following brands:Kenmore, KitchenAid, Whirlpool, Jenn-Air
-
Works with the following products:Refrigerator
-
Fixes the following symptoms:Ice maker won’t dispense ice, Ice maker not making ice, Will Not Start
-
Part# WP2252130 replaces these:AP6006769, 2252130
- Works with the following brands:
- Kenmore, KitchenAid, Whirlpool, Jenn-Air
- Works with the following products
- Refrigerator
- Fixes the following symptoms
- Ice maker won’t dispense ice, Ice maker not making ice, Will Not Start
- Part# WP2252130 replaces these:
- AP6006769, 2252130
Part Number Cross Reference
Questions and Answers
Be the first to ask our experts a question about this part!
Ask a Question
Ask our experts a question on this part and we'll respond as soon as we can.
Sorry, we couldn't find a match for "".
Here's a guide for finding your model number.
Something went wrong. Please try again later.
Your Question Has Been Submitted!
Our experts will send you an email as soon as your question has been answered.
Related Parts Additional or alternate parts to consider.
Installation Instructions Provided by Fix customers like you.
- < Prev
- 1
- Next >
Sort by:
Search filter:
Clear Filter
Your search term must have 3 or more characters.
Keep searches simple. Use keywords, e.g. "leaking", "pump", "broken" or "fit".
Sorry, we couldn't find any existing installation instruction that matched.
Ice Maker would not dispense ice
First remove the ice container then for safety unplug the fridge. Unscrew the two screws behind tray then unplug wire at the panel to give more work room. Unscrew two screws that hold the door bracket and activator motor. I was afraid of breaking the plastic tabs on bracket for the door and removed the activator motor to get the old con
... Read more
nector off. After many failed attempts to get the motor back on with the connector in place. I got bold enough to pop the door off the bracket. That made it very east to reinstall the motor, put new door bracket in place and pop the ice door into the holder then screw assembly into place. I first removed the two screws holding the top fitting which connects to Ice Auger, remove the assembly and the drive shaft. Retain spring and other parts. The Ice Auger Drive Motor is mounted to a bracket and you first must remove the four screws holding the bracket to be able to get to the motor and remove the four screws holding it into place. Disconnect and remove the motor. A thin flat screwdriver and needle nose pliers will help unplug the electric fitting. Watch for a flexible washer that the axel goes through at the motor. Mine was stuck to the frame until I put the motor back in. It dislodged just enough that I could not get the axel through it and into the motor. Pulled out the new axel, unscrewed the motor bracket and pulled motor out. Holding the washer, reinserted axel from the top and pushed it through the washer, then set it in motor as I put bracket back in place. Reinstalled top fitting and parts then reconnected front panel, plugged fridge in and all worked well. It was not hard and if I had instructions for the ice door bracket it would have been just over 30 min total for all parts.
Read less
1 person
found this instruction helpful.
Was this instruction helpful to you?
Thank you for voting!
- Customer:
- John from JONESBOROUGH, TN
- Parts Used:
- WP2252130
- Difficulty Level:
- Really Easy
- Total Repair Time:
- 15 - 30 mins
- Tools:
- Nutdriver, Screw drivers
Ice maker stopped working and touch screen circuit board failed. That was my fault!
Unplug the refrigerator.
Removed pullout tray
Removed 2 screws
Pull on bottom of the despensor unit while gently lifting up. Don't force anything made of plastic or else you will be buying a new one!
When you have it pulled away from the door carefully disconnect ground wires then power wires!< ... Read more br />
Remove connections to the circuit boards and pop out plastic connector's for ribbon connectors, remember how they came out because they only fit in the exact same way! You cant flip them around. If you do the ribbon will not seat properly and the control panel will not work correctly. Trust me I know! Had to repeat the process and make sure the black ribbon connector holders where correctly installed. They must pop in, if done correctly they push in with little effort!
Carefully remove old circuit board, don't force this plastic it will crack!
Remove new one from static bag do not touch the connectors, your body has thousands of volts super low amps and you will fry the board if you touch the connector unless your working on an ESD mat. Or properly grounded. Was in the Marines and worked helicopter avionics.
Anyway, carefully install the new board and reconnect. If you don't have a photographic memory use you phone because it does! Takes pictures of the disassembly process and follow your pic''s. Last things, don't forget to clean the dust from the coil while you have the fridge out from the wall. Now plug it back in!! Done!
Read less
1 of 2 people
found this instruction helpful.
Was this instruction helpful to you?
Thank you for voting!
- Customer:
- Michael from Pilot, VA
- Parts Used:
- WP2252130
- Difficulty Level:
- Easy
- Total Repair Time:
- 30 - 60 mins
- Tools:
- Nutdriver, Screw drivers
I've would not dispense
Opened front of ice maker pulled out tray removed two Phillips head Removed face plate unbolted auger from inside and pulled out. Went back to front removed auger motor put in new one inserted auger back from inside. Motor simply bolts in with a plug in. Works great
0 of 1 people
found this instruction helpful.
Was this instruction helpful to you?
Thank you for voting!
- < Prev
- 1
- Next >
Model Compatibility
This part works with the following models:
Fix Number: FIX11739848
Manufacturer Part Number: WP2252130
Manufacturer Part Number: WP2252130
| Brand | Model Number | Description |
|---|---|---|
| Kenmore | 10644022600 | Refrigerator |
| Kenmore | 10644023600 | Refrigerator |
| Kenmore | 10644024600 | Refrigerator |
| Kenmore | 10644029600 | Refrigerator |
| Kenmore | 10644032600 | Refrigerator |
| Kenmore | 10644033600 | Refrigerator |
| Kenmore | 10644034600 | Refrigerator |
| Kenmore | 10644039600 | Refrigerator |
| Kenmore | 10654202300 | Refrigerator |
| Kenmore | 10654203300 | Refrigerator |
| Kenmore | 10654204300 | Refrigerator |
| Kenmore | 10654206300 | Refrigerator |
| Kenmore | 10654209300 | Refrigerator |
| Kenmore | 10654212300 | Refrigerator |
| Kenmore | 10654213300 | Refrigerator |
| Kenmore | 10654214300 | Refrigerator |
| Kenmore | 10654216300 | Refrigerator |
| Kenmore | 10654219300 | Refrigerator |
| Kenmore | 10654782800 | Refrigerator |
| Kenmore | 10654783800 | Refrigerator |
| Kenmore | 10654784800 | Refrigerator |
| Kenmore | 10654786800 | Refrigerator |
| Kenmore | 10654789800 | Refrigerator |
| Kenmore | 10654792800 | Refrigerator |
| Kenmore | 10654793800 | Refrigerator |
| Kenmore | 10654794800 | Refrigerator |
| Kenmore | 10654796800 | Refrigerator |
| Kenmore | 10654799800 | Refrigerator |
| Kenmore | 10655202400 | Refrigerator |
| Kenmore | 10655203400 | Refrigerator |
Mail-In Recycling Rebate
Some of the parts we sell are eligible for mail-in rebates since we can recycle them. We will display any applicable rebates in your shopping cart. To redeem your rebate, contact Customer Service after you have received your part.


