


Like what you're reading?
Get your fix of expert articles delivered straight to your inbox!
Oops! Please double check your email address.
No Thanks - I don't like cool stuff


Whether you’re a seasoned woodworker or you just enjoy taking on projects at home, the miter saw is a great tool for all levels. Its purpose is to make precise angled cuts or crosscuts at a selected angle. It is therefore important to ensure that your saw is properly squared/aligned. This will ensure that all your cuts are made accurately and consistently. Squaring or aligning your miter saw, simply means adjusting the saw so that the blade cuts at a 90-degree angle to the table/base. If the saw isn’t squared, you will likely end up with cuts that are uneven and inconsistent. Moreover, if your saw is not square, you could damage the blade and even the motor that powers the saw.
However, if you've noticed that the motor on your miter saw is not running well, it might be in need of some repair before you get to squaring. Fortunately, we've got a full list of OEM replacement miter saw parts for your saw.
Pro tip: Before you begin squaring up your saw, make sure that it is disconnected from the electrical outlet and that the blade is pulled back or covered.
The miter adjustment allows you to place the blade at different angles so that you can make accurate cuts. It allows the blade to pivot horizontally. This should be at a 90-degree angle to the blade.
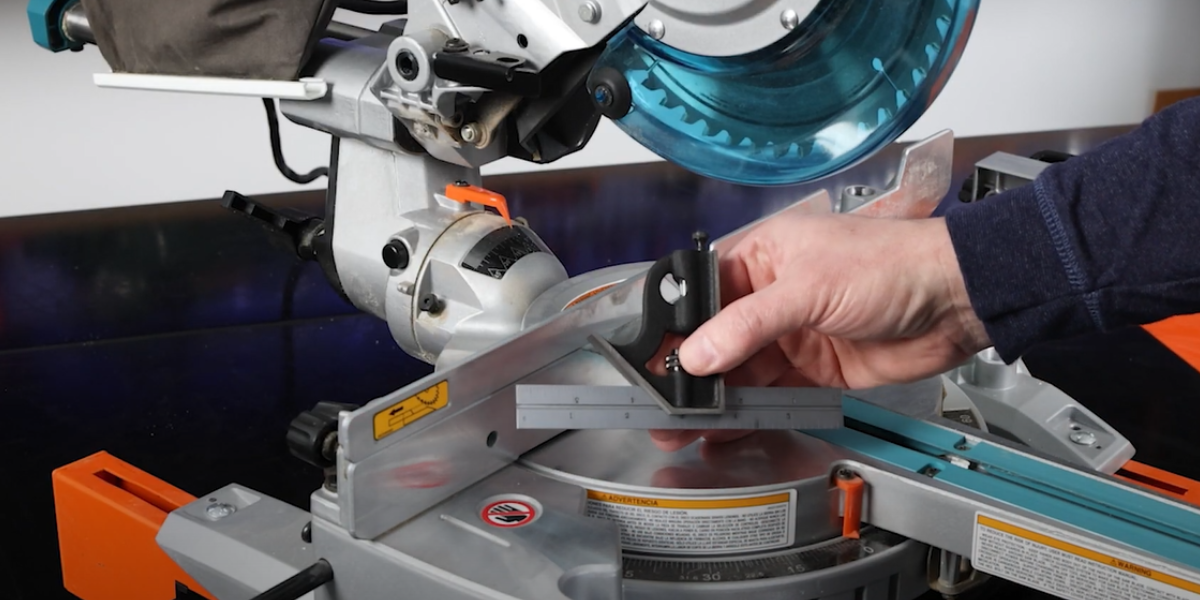
To confirm whether your miter saw is out of alignment, you can use a measuring tool such as a combination square. Place the square against the fence on the miter saw at a 90-degree angle and lower the blade all the way down. If there is a gap at the back of the blade, then you know that the fence is out of square. If you would like to know exactly how to use the combination square, check out our full guide on this multipurpose measuring tool!

The fence is a metal bar which is parallel to the blade on the saw. It provides support for woodworking pieces and prevents them from moving around as you are working. In order to square your miter saw, you will need to adjust the fence until it is at a 90-degree angle to the blade.
Start by loosening the bolts or screws that hold the fence to the base of the saw. You do not need to remove them all the way. If your saw has a lock knob which helps to tighten the fence, you will need to remove this as well and any other parts of your saw that may be in the way.

Once your fence is able to move around freely, you can now begin to adjust it. Take your combination square and place it against the fence and lower the blade down again. Move the fence back and forth until there are no gaps, and the fence and blade are perfectly aligned against the combination square. Once it is in position, retighten the bolts carefully without moving the fence.
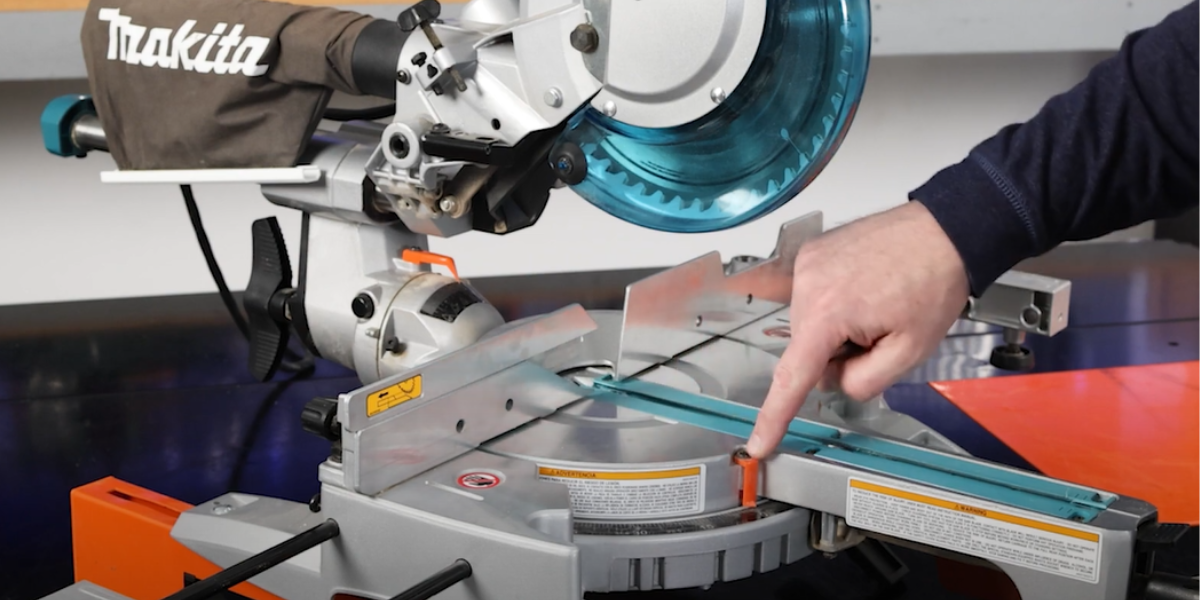
Next, you will need to adjust the pointer for the miter adjustment. The pointer helps you to properly line up the item you are working on with the blade. It’s a small plastic or metal piece that is usually held in place with a screw. Again, you do not need to remove it all the way. Simply loosen the screw and move the pointer until it is set to zero. Once set, retighten it and move on!
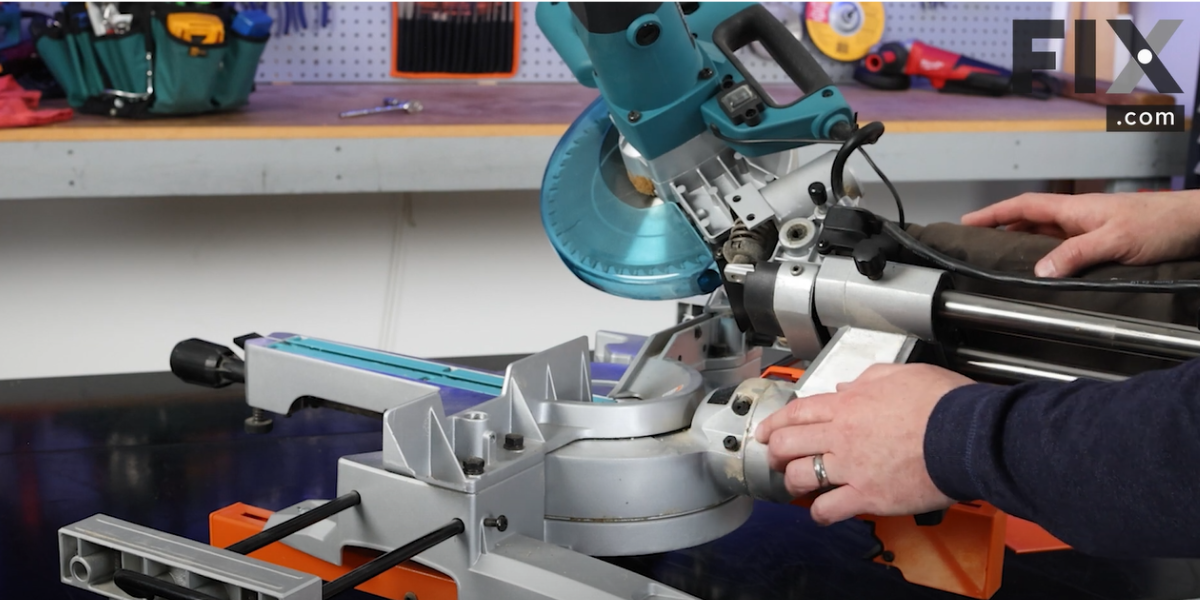
The bevel adjustment plays the same role as the miter adjustment by allowing the head of the saw to move from side to side. However, it allows the blade to pivot vertically instead. The bevel should also be able to stop accurately at 90 degrees as well as at 45 degrees.
Before you begin working on the bevel, you may need to slide the upper portion of the fence to the side to create extra room for your adjustments. Once this is done, unlock the bevel by turning the locking mechanism or knob on the bevel.

Locate the screws on the bevel. There are usually two screws you will need to adjust, one for the 90-degree angle and the other for the 45-degree angle. As with the miter adjustment, begin by setting the blade at a 90-degree angle to the base of the saw. Use your combination square at a 90 degree angle again to check whether there is a gap between the square and blade which confirms that the saw is not aligned.
 Loosen the 90-degree screw and adjust the blade or move the bevel outwards until it is at the right angle. After it is adjusted, retighten the screw. Repeat the same process with the 45-degree screw. Remember to remove the ruler from your combination square this time to measure the angle correctly. Lower the blade and place the combination square against it. If there is a large gap between the blade and square, then you will need to adjust the blade. Loosen the 45-degree screw and move the blade until it is properly lined up and retighten the screw.

Once again, you will need to set the pointer to zero. Loosen the screw holding the pointer and adjust it accordingly. Lock it back into place and just like that, your saw is squared! You can confirm how accurate your cuts are now by practicing on some scrap wood before you move on to bigger projects.
We hope that by following these easy steps you’ll be able to square your miter saw in just a few minutes. It's important to note that you should not use your saw if it is not aligned as this will create needless mistakes and you may end up wasting your wood. Remember to regularly check your saw, even if it is brand new. With a little practice you’ll be able to take your woodworking projects to the next level.
Embed the article on your site

Written by:
Written by:

Keep the dust out of your vacuum filter and workshop, and save some cash wi...
Creating seamless, beautiful wood joints is made fast and easy with the app...

Power down your circular saw, and learn when using your handsaw can be a qu...
Get your fix of expert articles delivered straight to your inbox!
No Thanks - I don't like cool stuff