

Like what you're reading?
Get your fix of expert articles delivered straight to your inbox!
Oops! Please double check your email address.
No Thanks - I don't like cool stuff


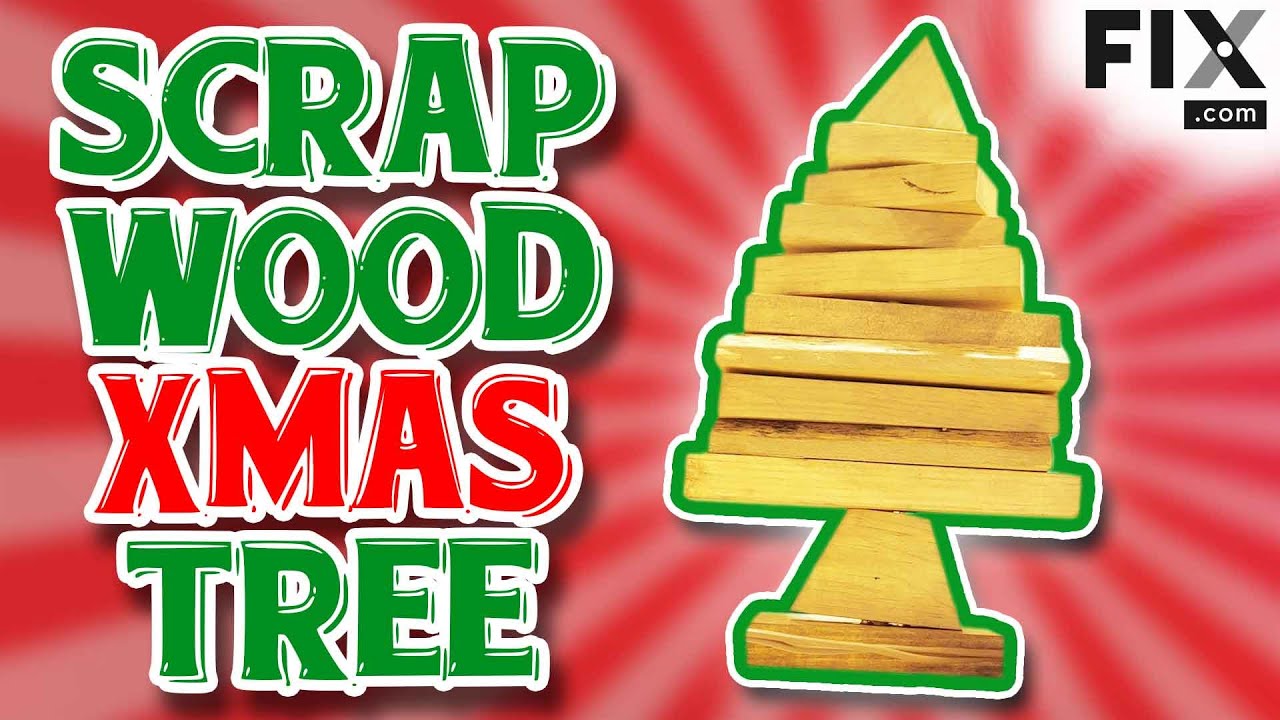
One of the best parts of the holiday season is the decorations! While you may choose to buy your decorations at a store, we think there are no better decorations than the ones you make yourself! Since we already showed you how to make DIY Bulb Christmas Trees, today we thought we would show you how to make an adorable Scrap Wood Christmas Tree! This project is completely scalable, so you can make it as small or large as you would like!
Let’s get started:
To complete this project, you will need the following:

Before you can get started on your tree, you’ll need to sand the wood to remove the naturally sharp edges and prevent splintering. We also recommend sanding the entire block of wood as any imperfections may become more prominent once it’s stained.

Now that the edges are rounded, you are going to find the center of your blocks and drill a hole for the dowel to go through. You will need to drill all the way through every piece except for the top piece, which you should only drill about halfway through. Use your sandpaper to clean any tear-out your drill leaves in the wood.

Using a brush or sponge, apply the stain following the manufacturer’s recommended application and drying instructions. Don’t worry about getting the stain into the holes since they won’t be visible in the final product.

Once the stain has dried, it is time to assemble your tree! Start by inserting the dowel into the base, place a small amount of wood glue around the base, slide the trunk onto the base and press down lightly.

Repeat this process for each layer of the tree.

Once you’ve placed all the pieces on the dowel, you should still have a few minutes before the glue completely sets to swivel the pieces to achieve the look you desire.

Not only is this craft easy to complete, but it also won’t clash with the other decorations in your house because the design is so simple! We hope that this guide will help you build your own scrap wood trees!
If any of the steps above were unclear, watch the video at the top of the page to see our DIY-expert Denika building her own!
Embed the article on your site

Written by:

Not only do DIY decorations save money, but these adorable trees are the pe...

Is your garage or basement in need of a storage solution? Read our step-by-...

This Christmas, skip the stress of the busy stores and make your own presen...
Get your fix of expert articles delivered straight to your inbox!
No Thanks - I don't like cool stuff