


How to Fix the Door Switch for a Dryer That Will Not Start
If your dryer won’t start, it could be that there’s a problem with your dryer’s door switch. The door switch is responsible for letting your dryer’s control board know when it’s safe to lock and seal the door and commence the drying cycle. If a door switch malfunctions, it can cause your dryer not to start because it can’t confirm that the door is closed and sealed. If your dryer’s not starting and you suspect it may be due to a door switch issue, this guide we’ve put together can help you identify, access, test, and re-install the door switch in your dryer!
What is a Door Switch?
A door switch is a device that communicates with the control board in your appliance to notify it that the door is closed and secure, and that it’s safe to begin the cycle. The door switch also shuts off the motor when the door is opened, which in turn shuts off the heating element. Once the door is shut again, the cycle may begin automatically or when you manually activate the start button.
Where is the Door Switch Located?
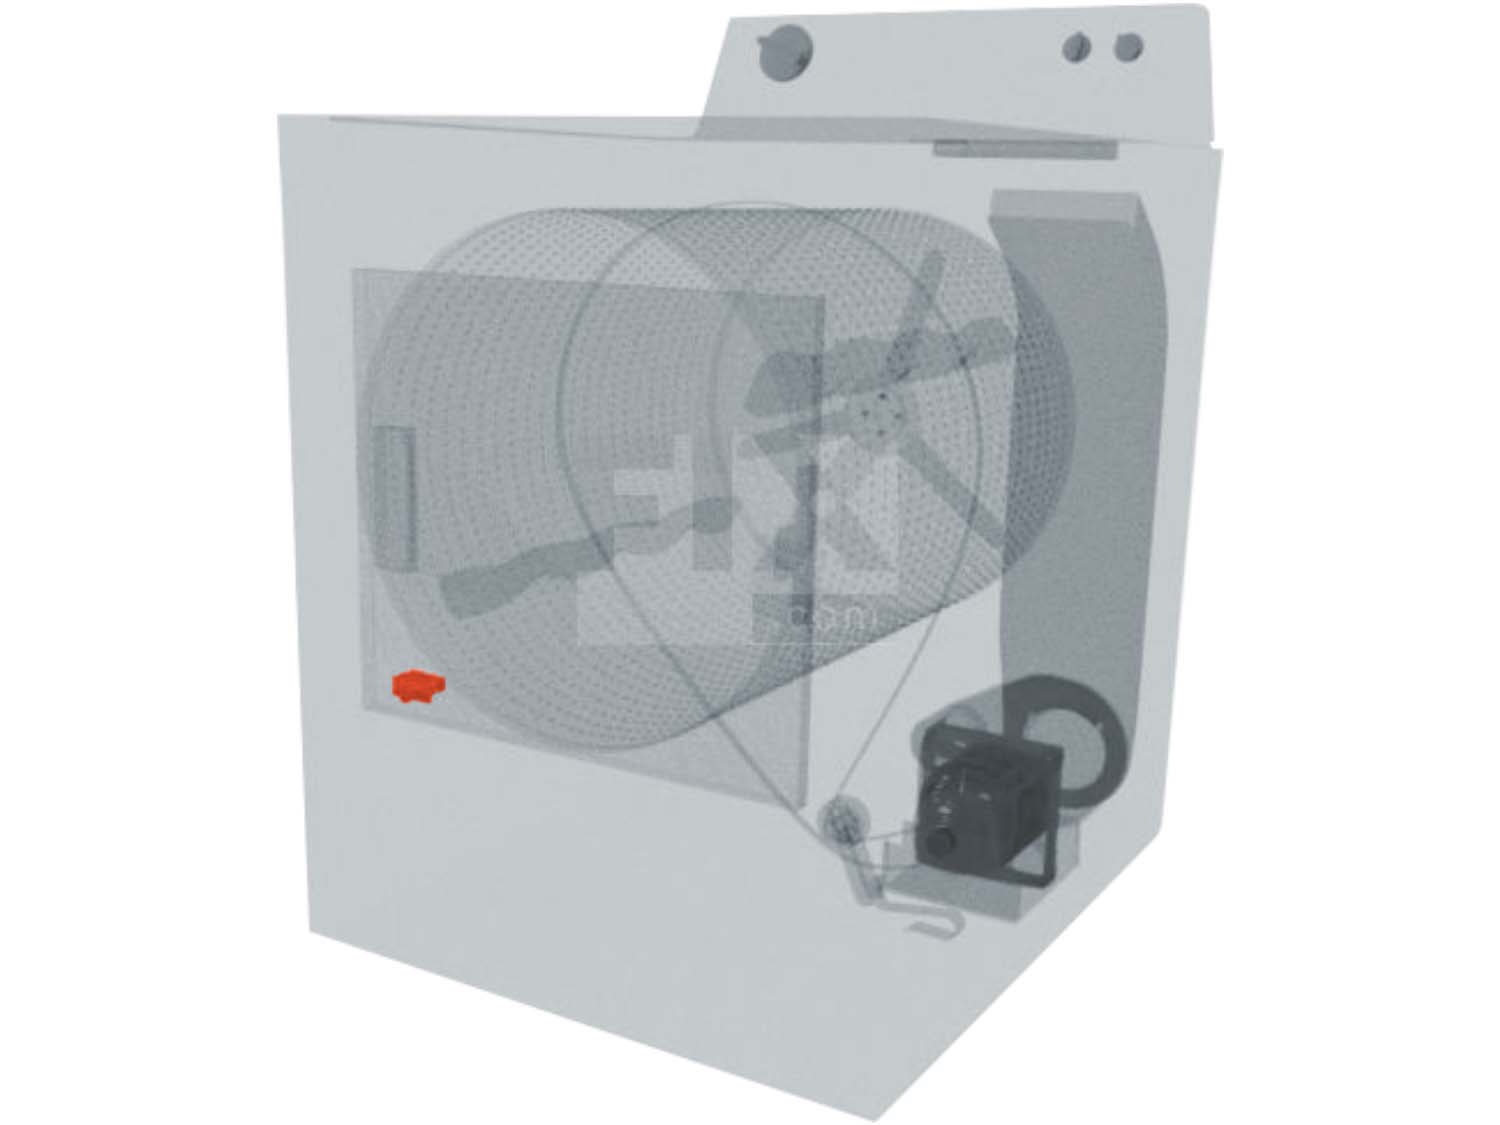
Door switches vary in size and location from model to model, but they are normally located around the perimeter of the opening of your dryer. It’s recommended that you explore the area around the opening to identify how the switch is installed and mounted in your dryer. In some instances where a dryer has a reversible door, you cannot simply switch the orientation of the door, because the same door switch will be mounted for either door strike. Refer to the 3D diagram below for further assistance with locating your door switch. Your manufacturer-provided user manual is the best way to locate the precise location of the switch for your specific model.
General Location of the Door Switch in a Dryer
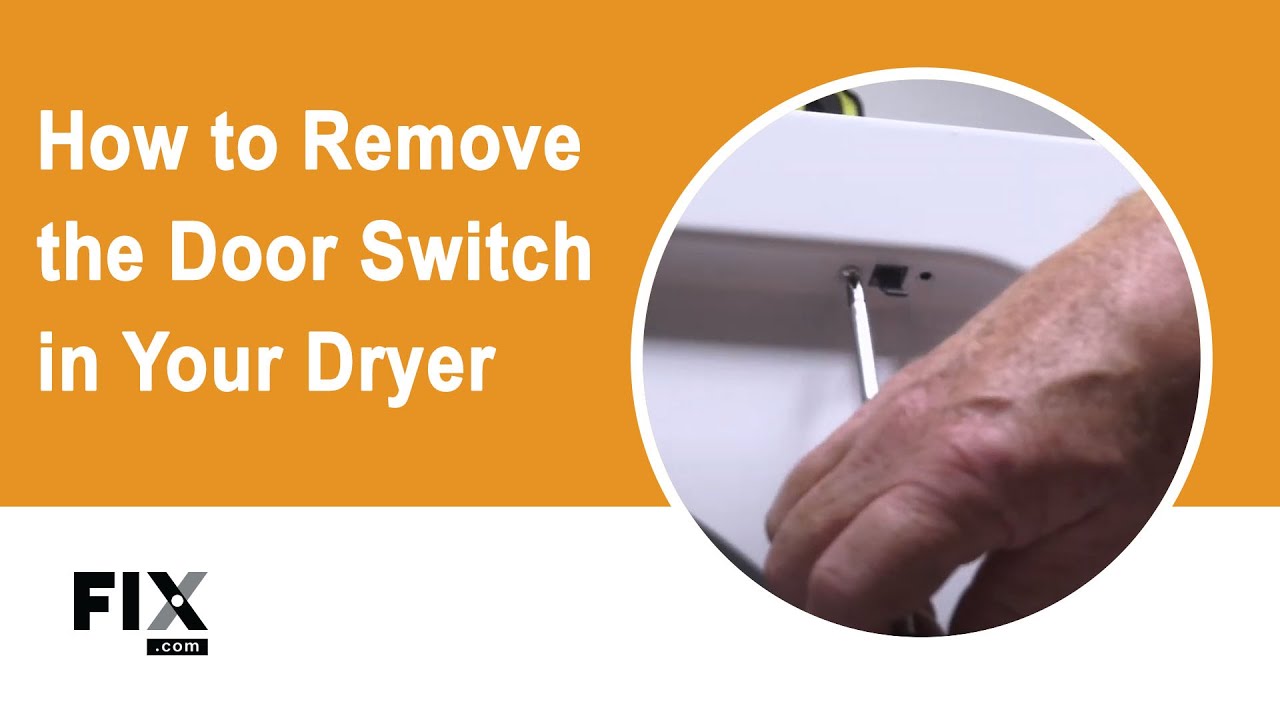
How to Access, Remove, and Inspect the Door Switch in a Dryer
- Depending on your dryer, it may be necessary to first remove the lint screen from your dryer, as this screen may impede your ability to access the top of your dryer.
- Next, locate your switch(es) and identify how it’s mounted within the dryer and how to access it. The majority of switches can be removed from just within the surface of the dryer, and this may require removing the top or front panels from your dryer to access the switch.
- Disconnect any screws, clips, or fastenings keeping the front or top panel attached. This step may also involve using a putty knife depending on your make/model. Once the front/top panel is disconnected and removed, identify where your switch is located.
- Disconnect any cables or wiring attached to the switch.
- Now you can disconnect and remove the door switch.
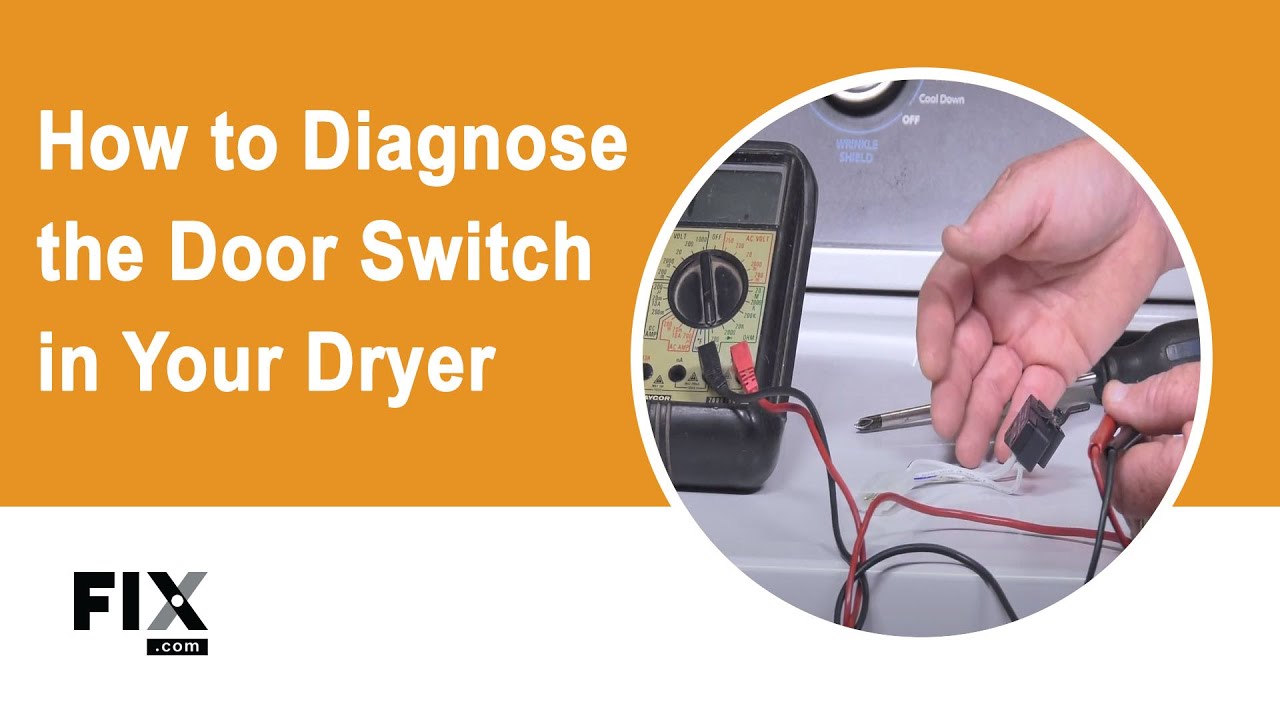
How to Test a Door Switch
- To test the dryer door switch, you’ll need a multimeter set to continuity mode to test it for full functionality.
- Touch the two probes from the multimeter to the terminals on the door switch.
- If you hear a beep or audible indication of continuity from the multimeter when touching the probes, it is functioning properly and does not need to be replaced.
- If you don’t hear any beep or see any visual indication on the multimeter, then the door switch needs to be replaced.
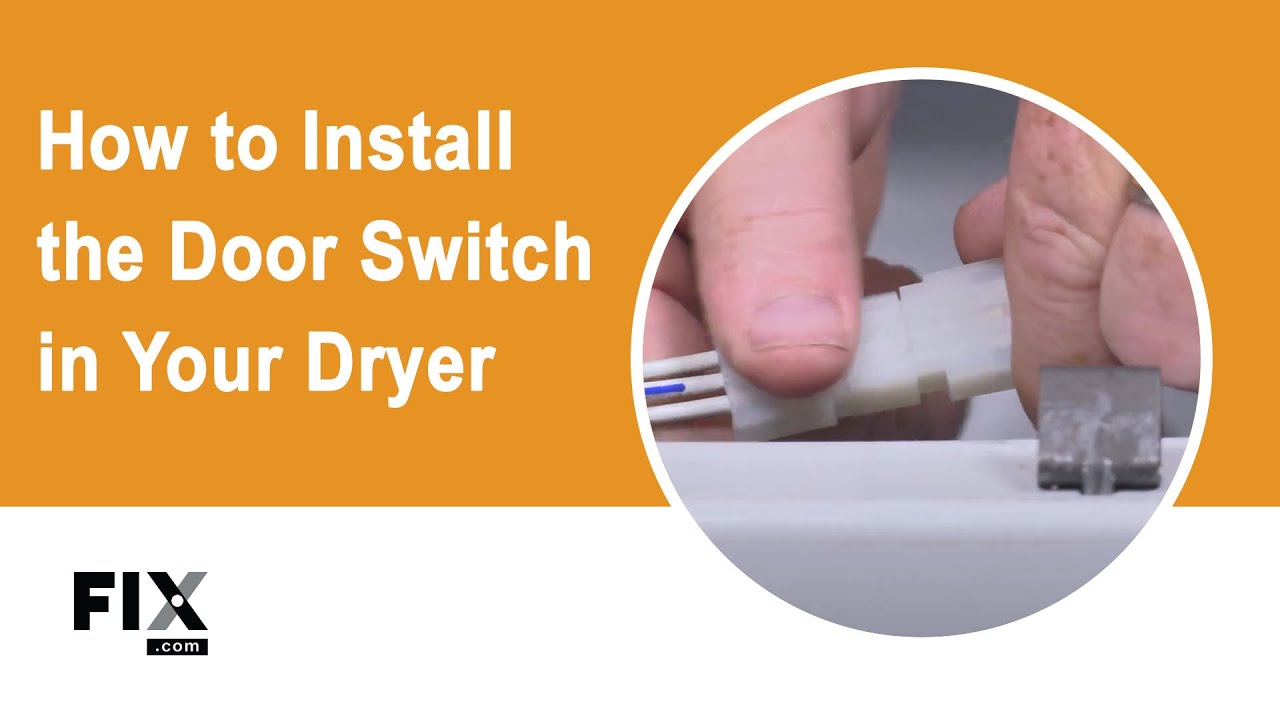
How to Install a New Door Switch
- Secure the switch where appropriate in the dryer.
- Connect any necessary wires and cables to the door switch to ensure its correct functionality.
- Reconnect the top/front panel of your dryer and the lint filter, and then your repair is complete!
Next: Troubleshooting the Belt
Go To Main Page: Will Not Start