


How to Fix the Belt Break Switch for a Dryer That Will Not Start
If your dryer won’t start, it’s possible that the cause is a problem with your dryer’s belt break switch. This switch is vital to the safety of the operation of your dryer and an indication of the health of your dryer’s belt. If the belt is broken or damaged, it will mean complete or near dysfunction of the belt break switch, due to the switch’s core function. When the belt breaks, this switch is activated and the inner drum of your dryer stops rotating. We have all the information you will need to help you figure out if your belt break switch is the cause of your dryer issues!
What is a Belt Break Switch?
The belt break switch in your dryer is a device that turns off the dryer whilst in operation if the belt breaks or stops functioning properly for whatever reason. This switch varies in size, location, and complexity depending on your dryer.
Where is the Belt Break Switch Located?
The location of the belt break switch is completely dependent on the make and model of your dryer but is normally located at the bottom of the dryer, usually near the motor, and is activated by the belt tensioner arm or idler pulley arm. See your user manual for the precise location of the belt break switch for your model.
General Location of the Belt Break Switch in a Dryer

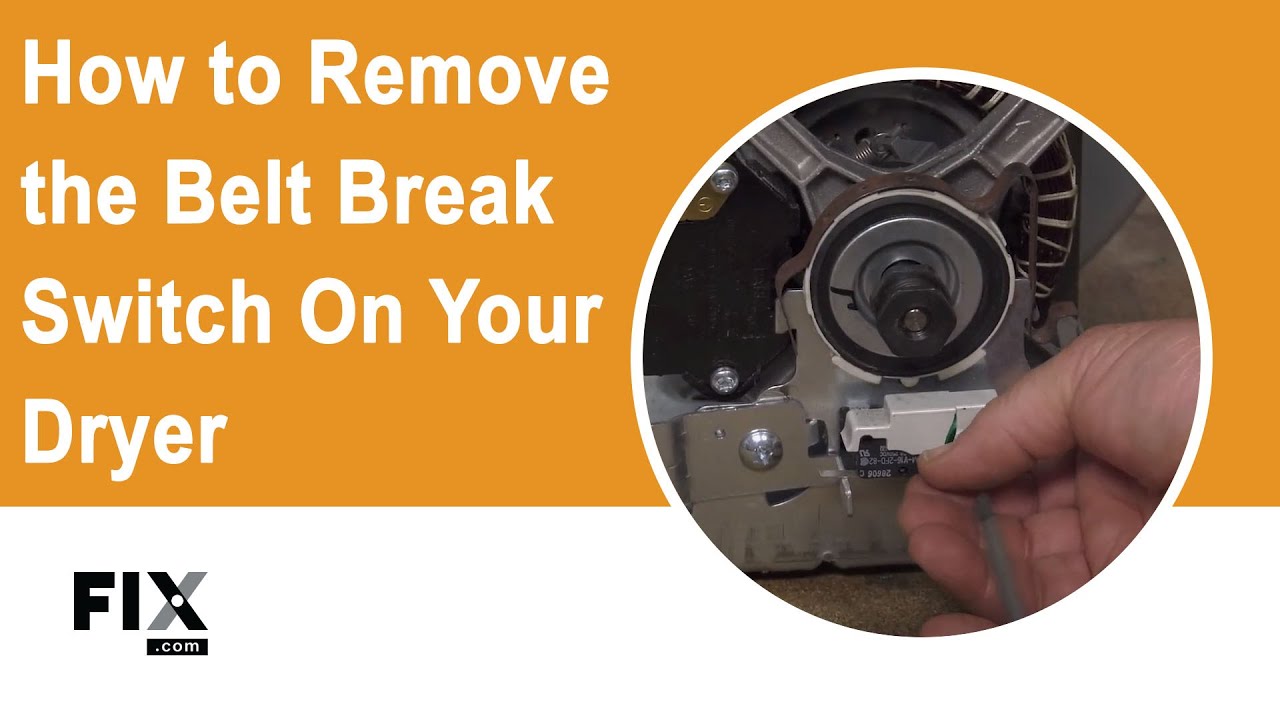
How to Access, Remove, and Inspect the Belt Break Switch in a Dryer
FIX TIP
- Unscrew and remove the top panel of your dryer to gain access to the dryer’s interior. Depending on your machine, the fastenings for the top panel may be located on the top or in the rear of the panel.
- Unscrew any fastenings underneath the top panel of the machine. This may be a combination of a computerized console, or sensors. Anything that restricts the movement of the front panel of your dryer needs to be removed.
- On front-mounted console dryers, unscrew and disconnect the user interface panel, the tool panel, and the door of your dryer. On top-mounted console dryers, removing the front panel normally yields access to the interior.
- For front-mounted console dryers, you may also need to unscrew a front bulkhead screw and remove any attached vents. This should completely expose the front of the dryer, and you should be able to see many of the internal components of your machine.
- Unscrew and remove the front bearing and its wire harness(es) if it was not already removed with the front panel.
- If the belt is still intact you will need to release it from the idler pulley and motor pulley before removing the switch.
- Unscrew your belt break switch and disconnect it from any wire harnesses or terminals.
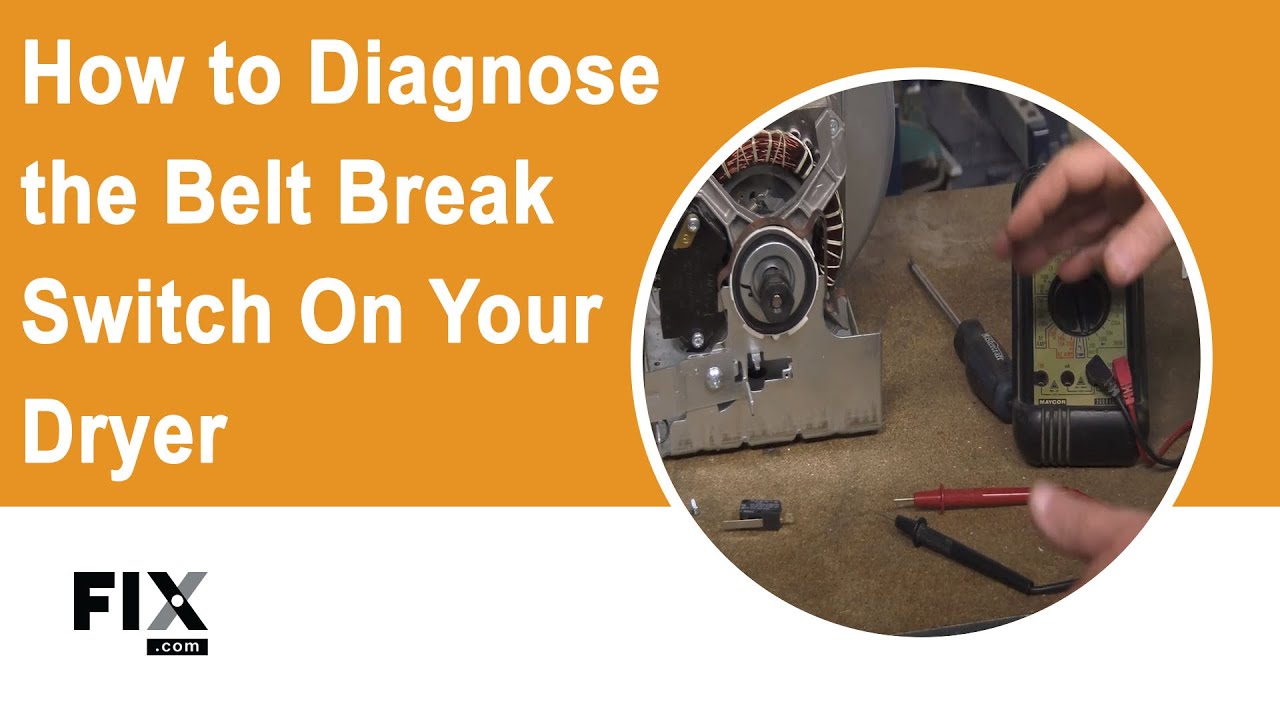
How to Test a Belt Break Switch
- Set your multimeter to a mode for continuity.
- Touch the two contacts from your multimeter to the terminals on the belt break switch.
- If your multimeter indicates continuity with a noise or visual indication, your belt break switch is fine.
- If there’s no indication whatsoever, the switch will need to be replaced immediately.
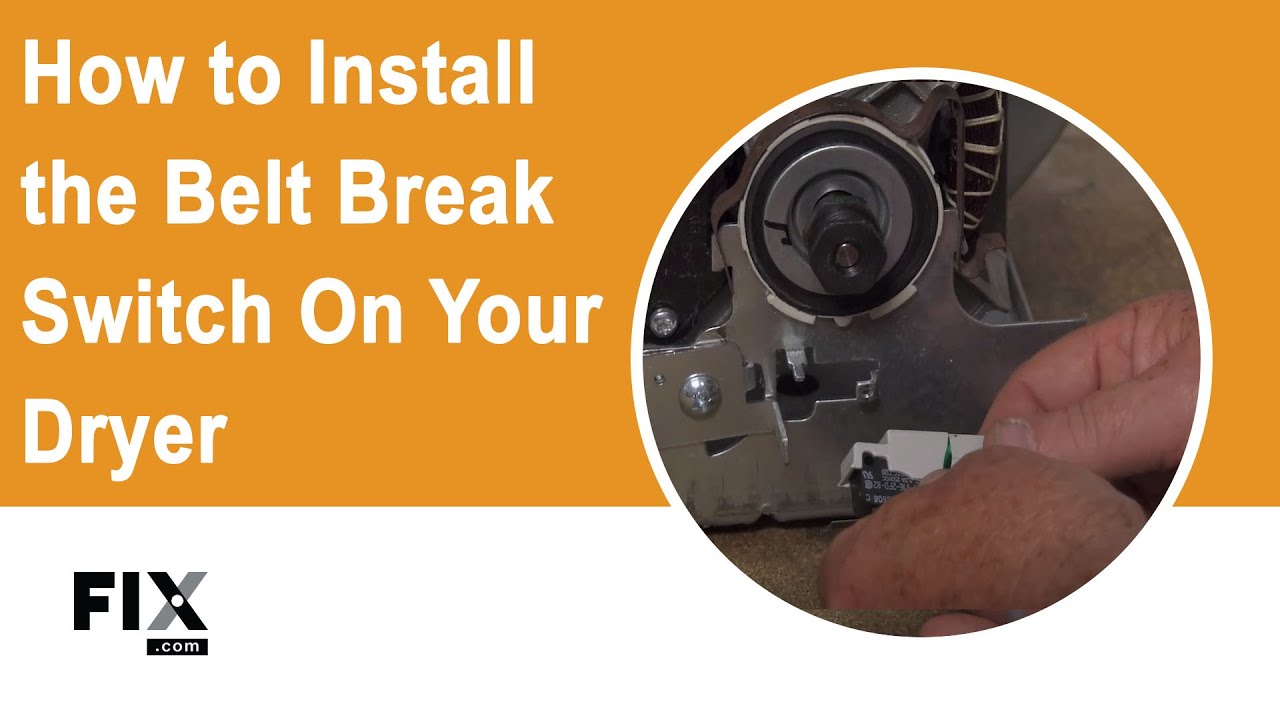
How to Install a New Belt Break Switch
- To install a new switch, screw or connect it into the position of the previously disconnected switch.
- If applicable, reinstall the front vents and front bearings of your machine, and connect any wire harnesses along the way.
- Reconnect and refasten the user interface panel, tool panel, and dryer door.
- Reinstall any sensors and after that the top panel of your dryer.
- Fasten your lint screen port if it was previously disconnected and reinsert your lint screen. Your repair is now complete!
Next: Troubleshooting the Push-to-Start Switch
Go To Main Page: Will Not Start