


How to Fix the Timer for a Dryer When Your Clothes Come Out Wrinkled
If your clothes are still wrinkled when they come out of your dryer, it might be an issue with your dryer’s timer. The timer is directly responsible for how long the drying cycles last, and if it is bad or faulty it can lead to your clothes being under-dried and slightly damp and wrinkly, or over-dried, making your clothes more prone to wrinkles. If the timer is not working properly, it may also be indicative of other parts within your dryer that are not communicating properly, such as thermostats and fuses. But we have this simple and easy guide for you to follow so you can diagnose whether the timer in your dryer is responsible for these issues, so you can get back to having nice, dry clothes!
What is a Timer?
A timer in a dryer is responsible for the duration of each drying cycle, and works with the motor and other electronic components like the moisture control board to control when the various cycles start and stop.
Where is the Timer Located?
The timer is normally located in the console on your dryer, which can be at the top of your dryer near the back, or the front of your dryer above the door. For further assistance finding your dryer’s timer, refer to the 3D rendering below.

FIX TIP
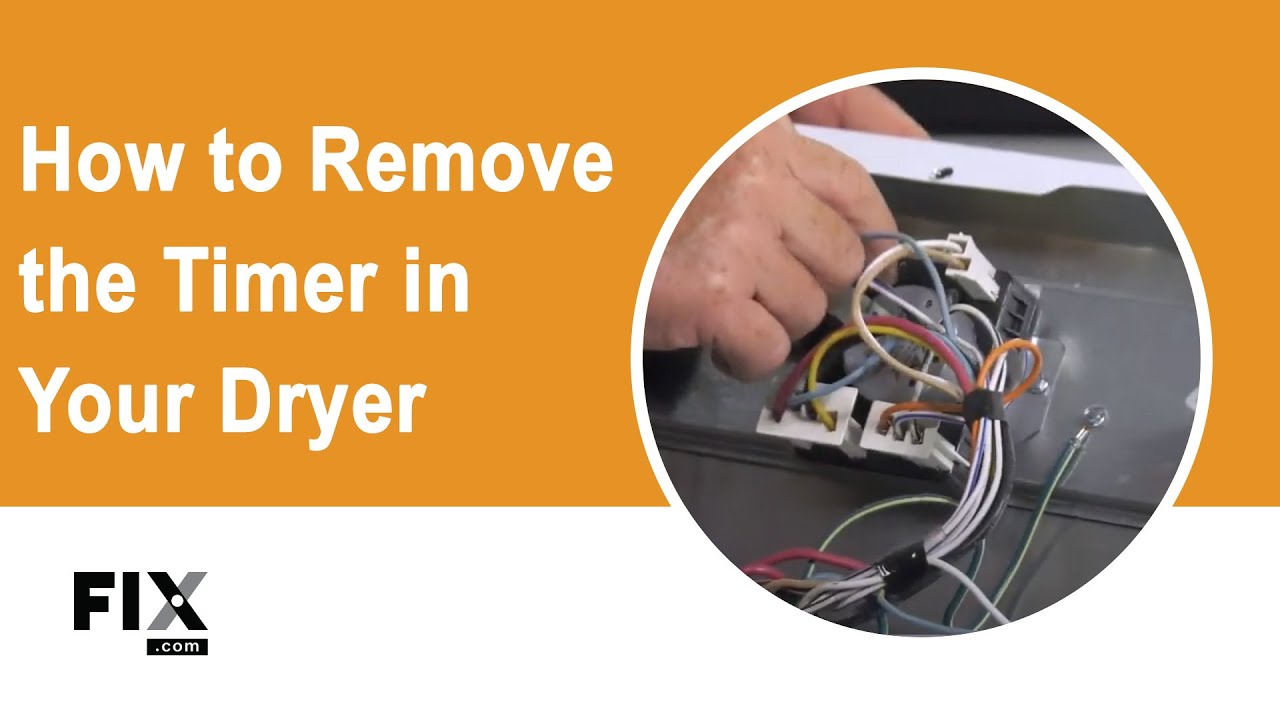
How to Access, Remove, and Inspect the Timer in a Dryer
Make sure to take any necessary pictures of any complex wiring that you may need to reconnect later when reassembling your dryer.
- Before beginning any repairs or opening the dryer, make sure you’ve checked the timer for any fault codes, error messages, or visual indications of any potential issues.
- Start off by removing the knob from the console.
- Next, move the dryer away the wall.
- Remove the back panel of the console, or of the entire dryer if necessary.
- The timer itself will be held in place right behind the knob you removed. It will be affixed with screws.
- Once you’ve located and gained access to your dryer’s timer, you’ll need to identify its securing hardware, such as wires, bolts, and screws.
- Your timer may or may not be within a plastic housing; either way, unscrew it from within the machine and disconnect any wires.
- You can now safely remove the timer for inspection and replacement.
How to Test a Timer
- You can test the continuity of a timer with a multimeter. Start by setting the multimeter to ohms, or continuity mode.
- Touch each probe to each of the terminals on the timer.
- If there’s an audible beep or visual reading, you have continuity – if not, it’s likely that the timer has failed and needs to be replaced.

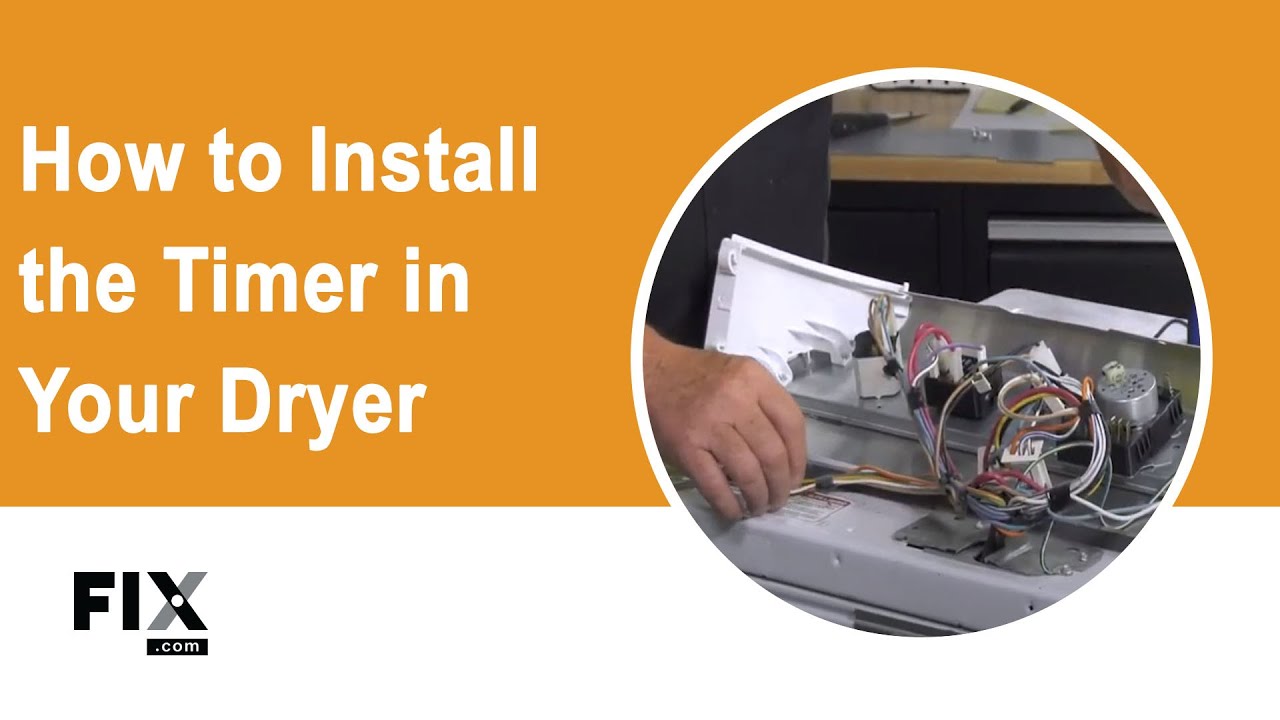
How to Install a New Timer
- Secure the new timer within the console of the original if necessary.
- Connect the timer to the machine using the appropriate wires and the screws that were originally holding it in place.
- Secure any other screws, wires, or cables that you disconnected and reassemble your dryer.
- Install the back cover to the console and slide the timer knob back into place.
- Move the dryer back into place and ensure the vent is still in the proper location. Your repair is now complete!
Next: Troubleshooting the Electronic Control Board
Go To Main Page: Clothes Come Out Wrinkled